Posts: 1,049
Threads: 67
Joined: Mar 2015
A new project for another modeller:
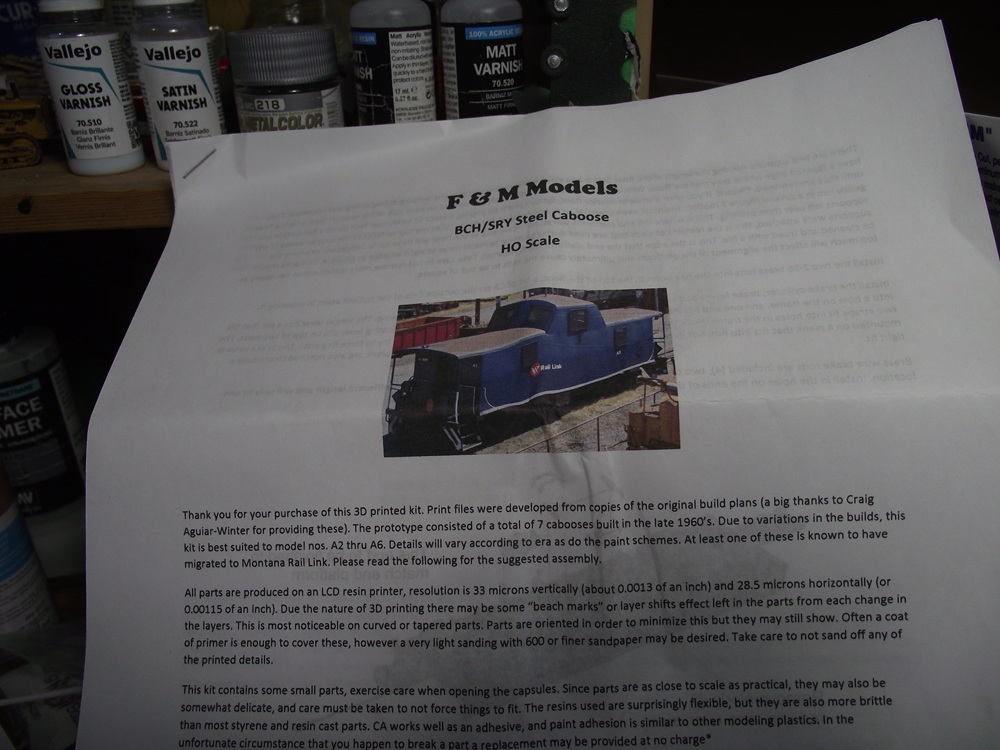
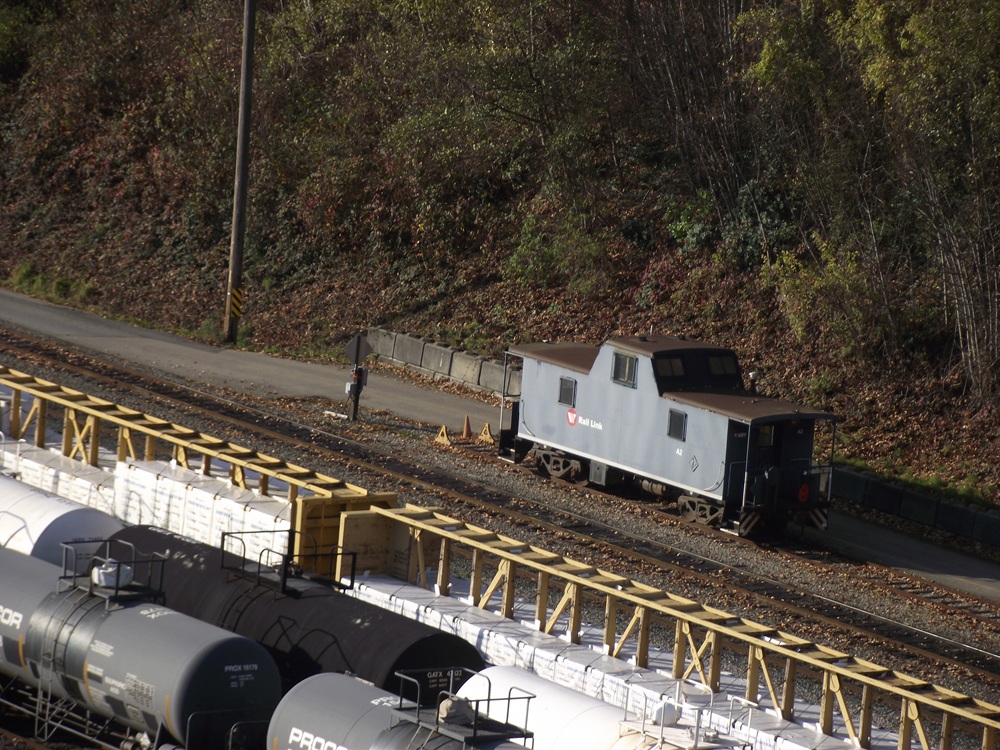
It's a BC Hydro/ Southern railway of British Columbia caboose. There were 7 prototypes built and I know of at least two are still in existance as I have photograghed them:
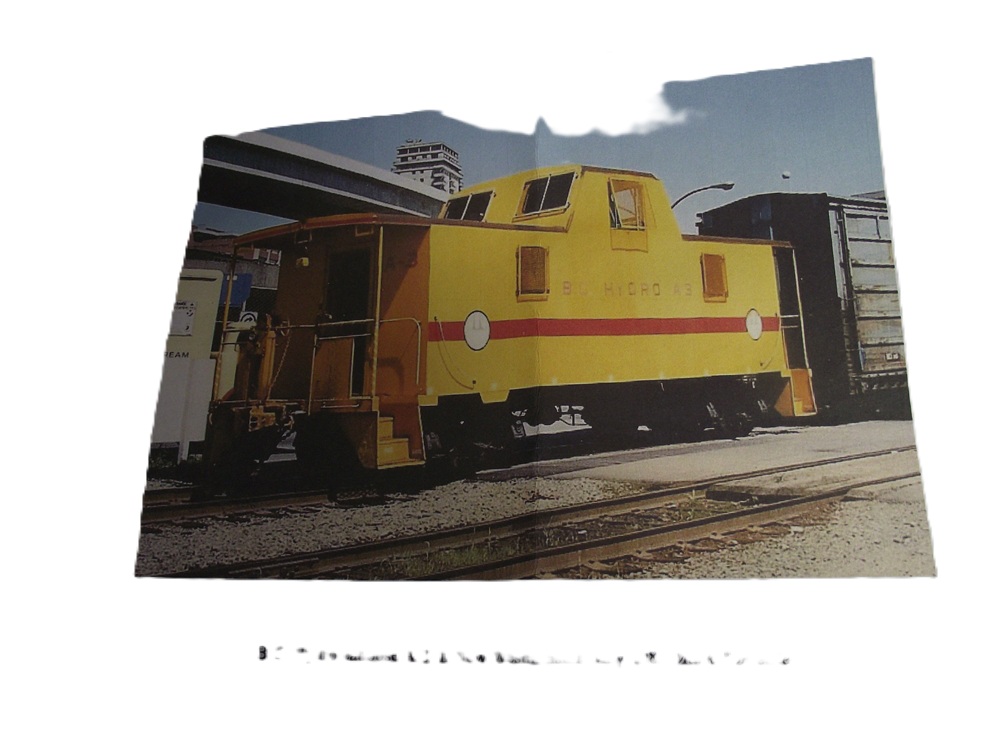
However I'll be painting this model in the former BC Hydro Railway colors:
The kit is almost entirely 3-D printed resin with some metal harware and grab irons.
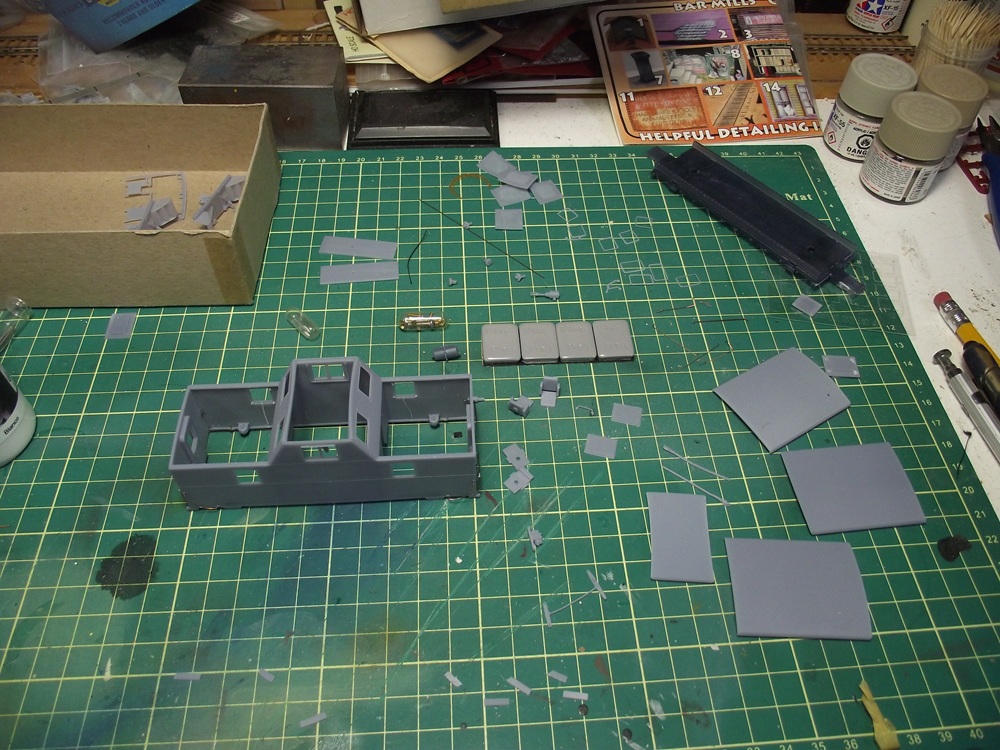
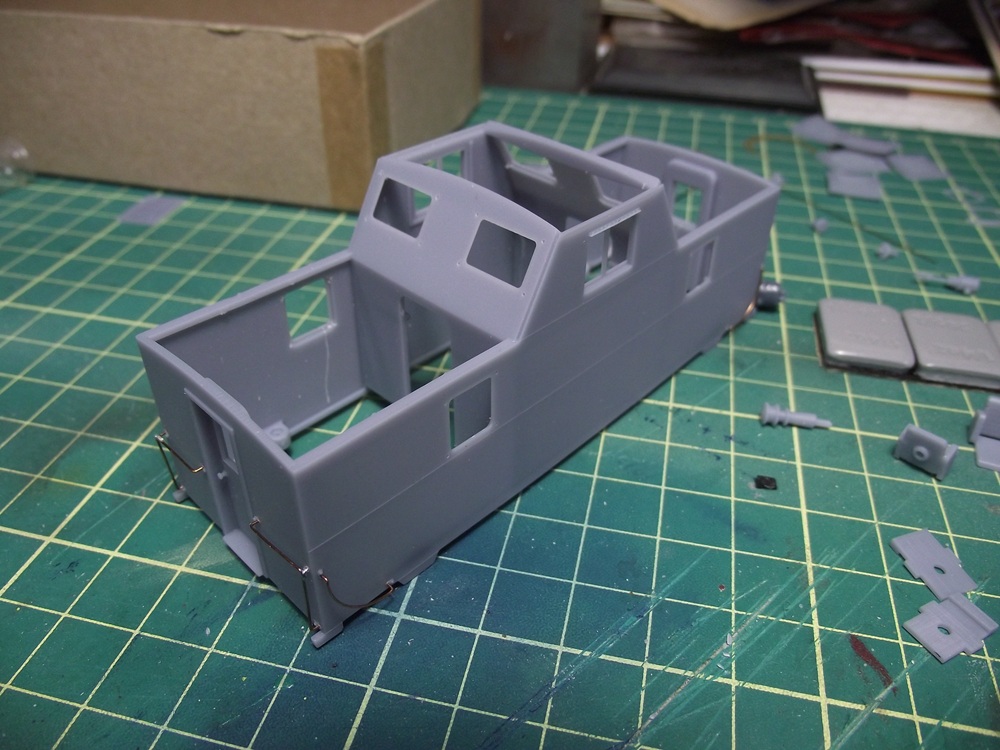
I started with assembling some parts before the painting
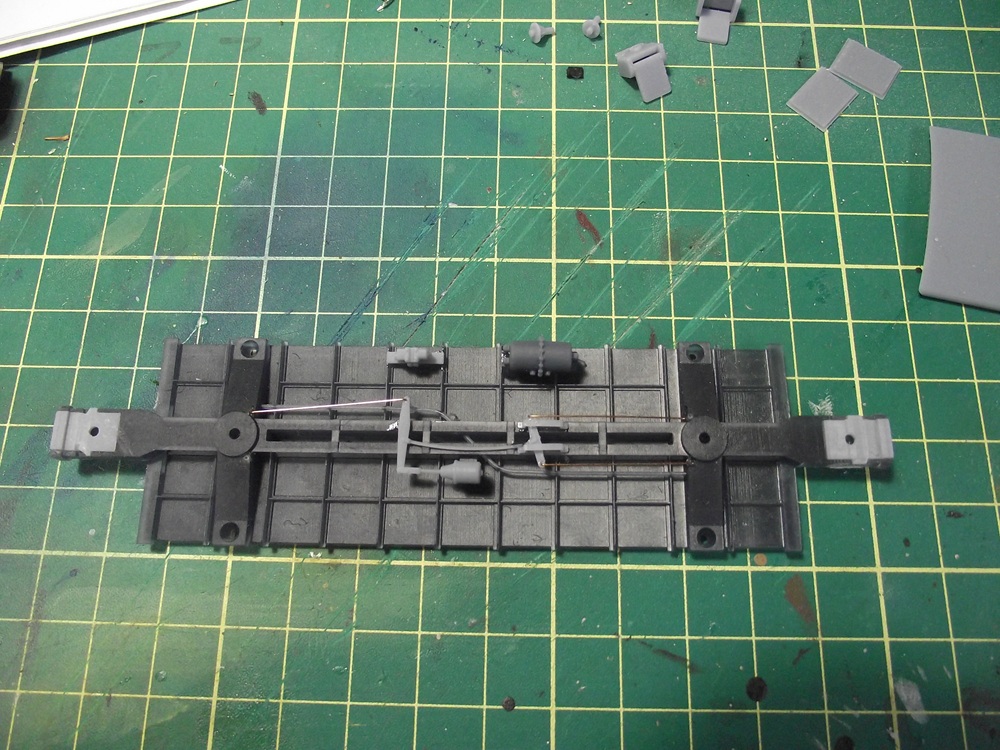
The underframe has complete detail . I also added the grabs to the caboose body and the end platforms. Then I sprayed primer on all parts:
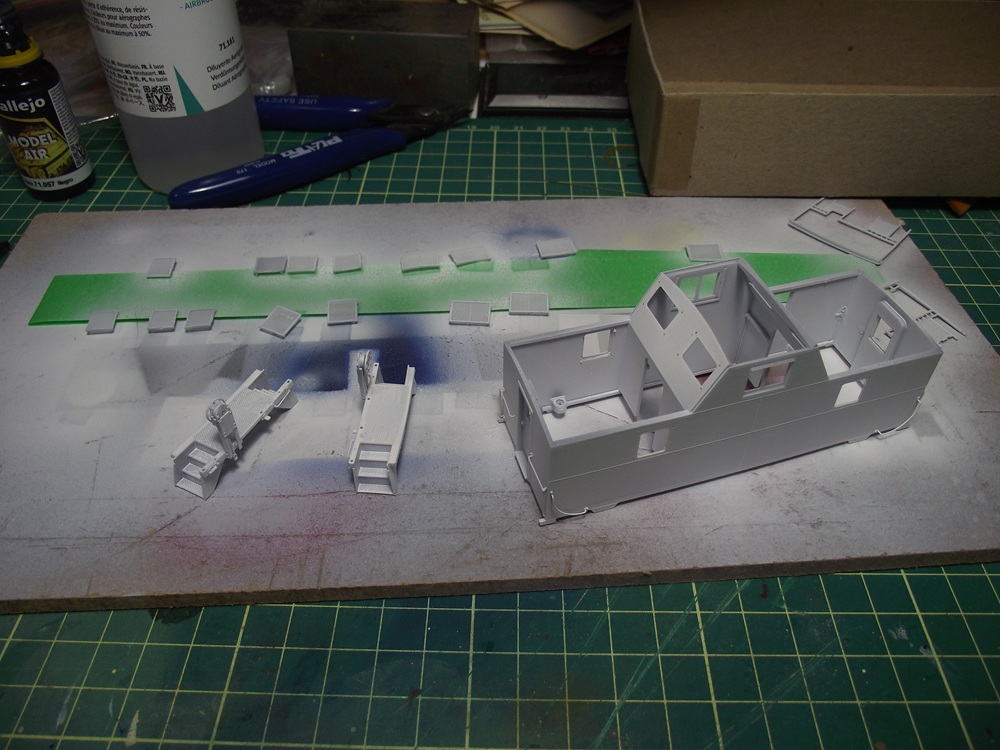
I used Vallejo white primer on everything that was to be painted yellow, gray on everything else. The Railway added security screens on the windows and these are also 3d printed as seperate parts.
My initial impression of the kit is very positive. all the grabs fit prefectly with all the holes either pre-drilled of engineered into the 3d print.
Posts: 1,468
Threads: 35
Joined: Mar 2009
Glen, yet another fine project you got going on. Do you happen to know how much that kit cost and do they offer other kits?
Matt
Conrail's Blairsville Cutoff
Posts: 1,049
Threads: 67
Joined: Mar 2015
Thanks Matt. The kit is made by F&M modelsand distributed by Inter City Trains and Hobbies out of Langley, British Columbia, Canada. The Caboose retails for about 90$ canadian. They do make a number of other kits, snowplows, cabooses and hiway trucks in both Ho and N.
Posts: 1,049
Threads: 67
Joined: Mar 2015
I airbrushed the color one the caboose parts.
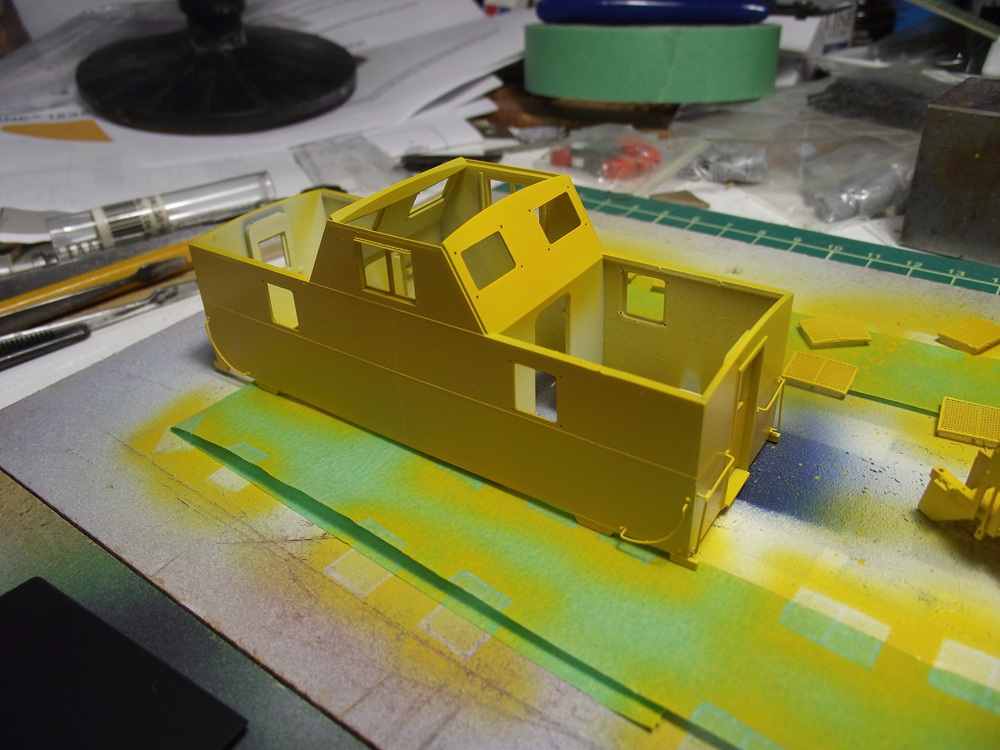
I used a yellow from Tru-color part. it sprayed very well and the colverage was excellent.
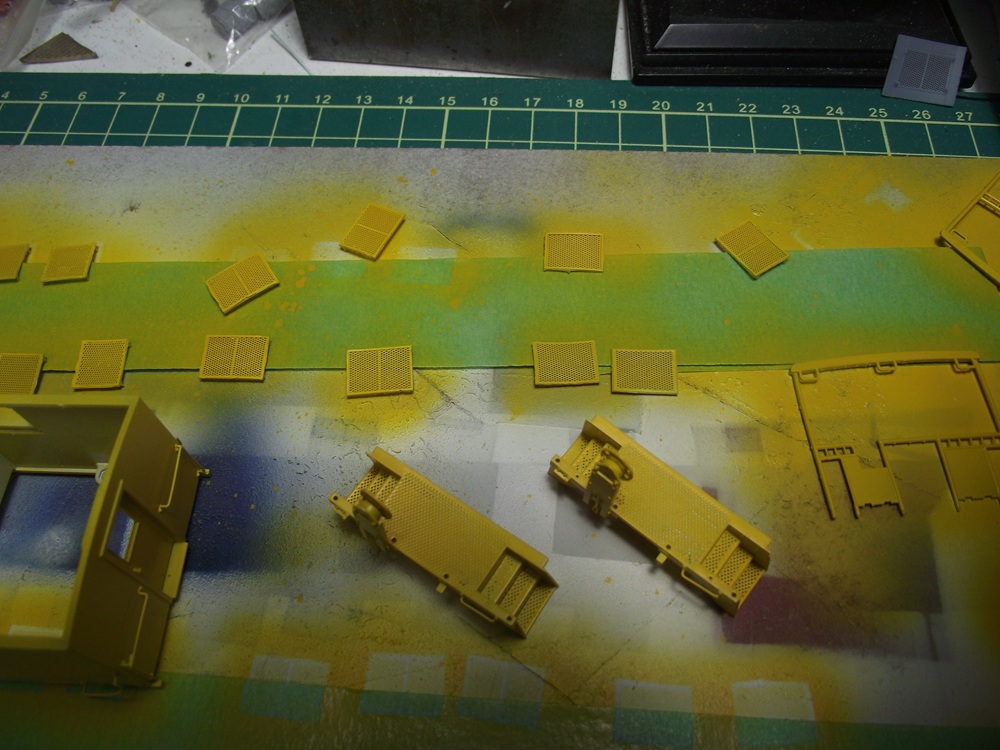
The end platforms and the window screens are also painted yellow.
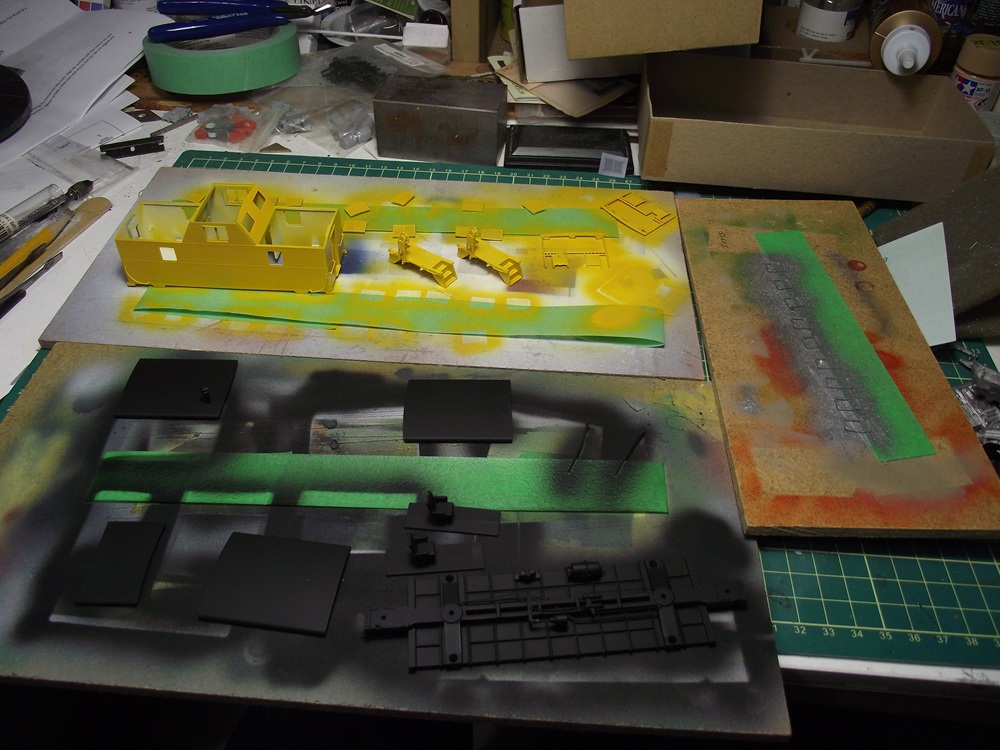
The roof parts and underframe were painted black, and the window frames are aluminum.
I'll be applying decals the weekend.
Posts: 1,468
Threads: 35
Joined: Mar 2009
Glen, it is coming along very nicely.
I am gonna have to look into the 3D printed stuff from them and see what I can all get. Ebay is starting to become a little expensive right now and I can't always make it to the hobby shop.
Matt
Conrail's Blairsville Cutoff
Posts: 1,049
Threads: 67
Joined: Mar 2015
Thanks Matt. I think that there a lot of garage manufactures out there. There always seems to be new products for new small companies.
I decalled the caboose yesterday:
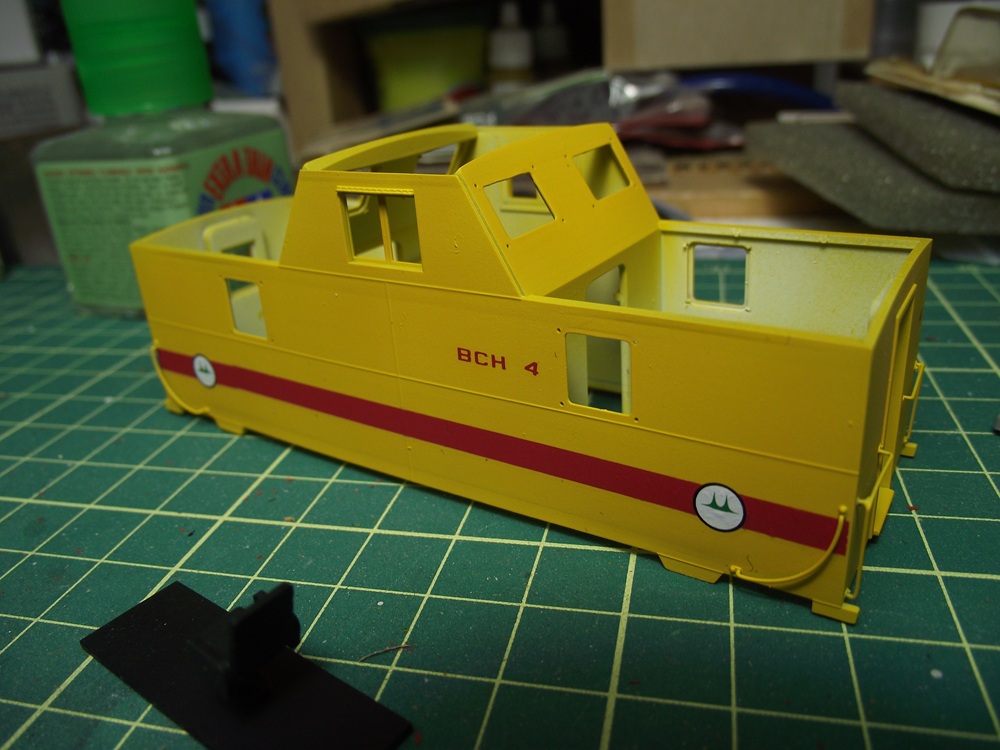
There are no decals made for a BC Hydro railway caboose. Mircoscale does make a decal set for their locomotives though. I used the stripes, roundells, and the numbers to make a slighty 'adapted' version of the paint scheme. This morning I airbrushed a Matt clear over the model parts.
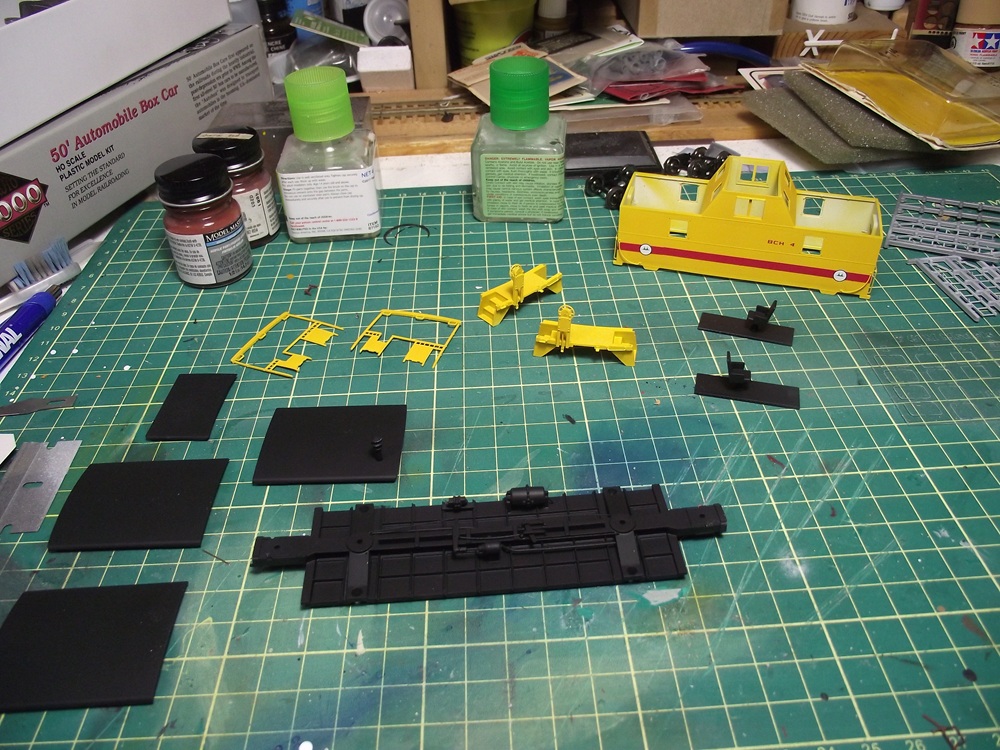
I hope to start assembly shortly.
Posts: 1,049
Threads: 67
Joined: Mar 2015
I started with assembly:
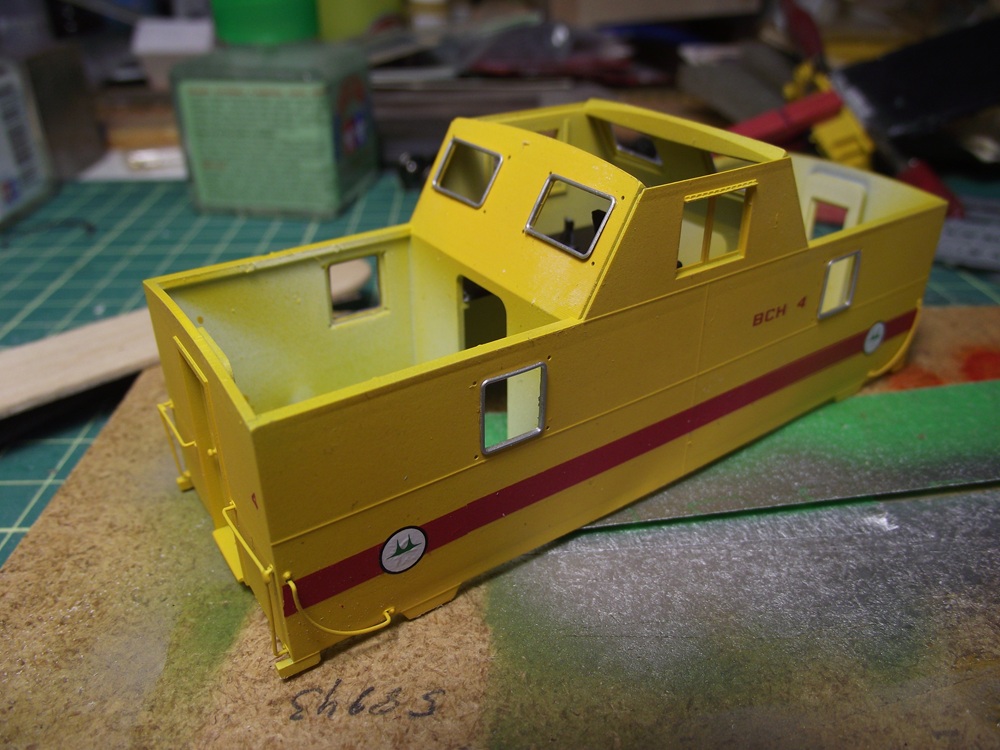
I installed the window frames on the front and rear windows on the cupola and the four windows on the sides. I was a bit concerned that the paint might have made the openings too small but they fit well.
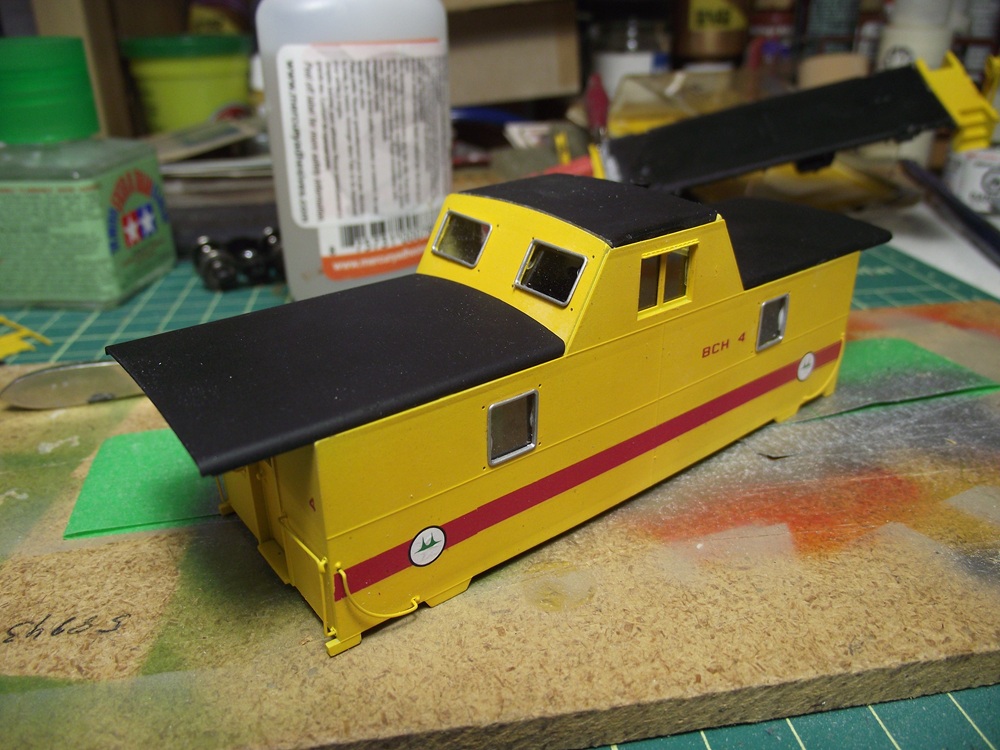
After that I added the window glass. This too fit very well. The glass is laser cut and the body has resesses engineered into the inside of the wall. I added the roofs and this is where I ran into a bit of trouble. The cupola roof is supposed to be a tight fit, snapping into place. Instead I ended up cracking the body. They was repainred and you can't see where it cracked. I ended up sanding the roof down and glueing it in.
Posts: 1,451
Threads: 22
Joined: Jun 2022
She's a beaut! Gonna be another satisfied customer. It's always a bummer when you get to the end of a project and something breaks. Glad to hear you could make a repair.
Posts: 1,468
Threads: 35
Joined: Mar 2009
Beautiful. Yes it is always a bummer when something breaks. It almost breaks your spirit but that's why we as modelers know how to fix something like that and it not be noticeable.
Matt
Conrail's Blairsville Cutoff
Posts: 299
Threads: 6
Joined: Jun 2011
Glen,
you've done a great job on that caboose
Posts: 1,049
Threads: 67
Joined: Mar 2015
Thank you everyone. Sometimes I wish I had two kits so I can build the first for practice, and build the second as the final piece.
I did finished the model:
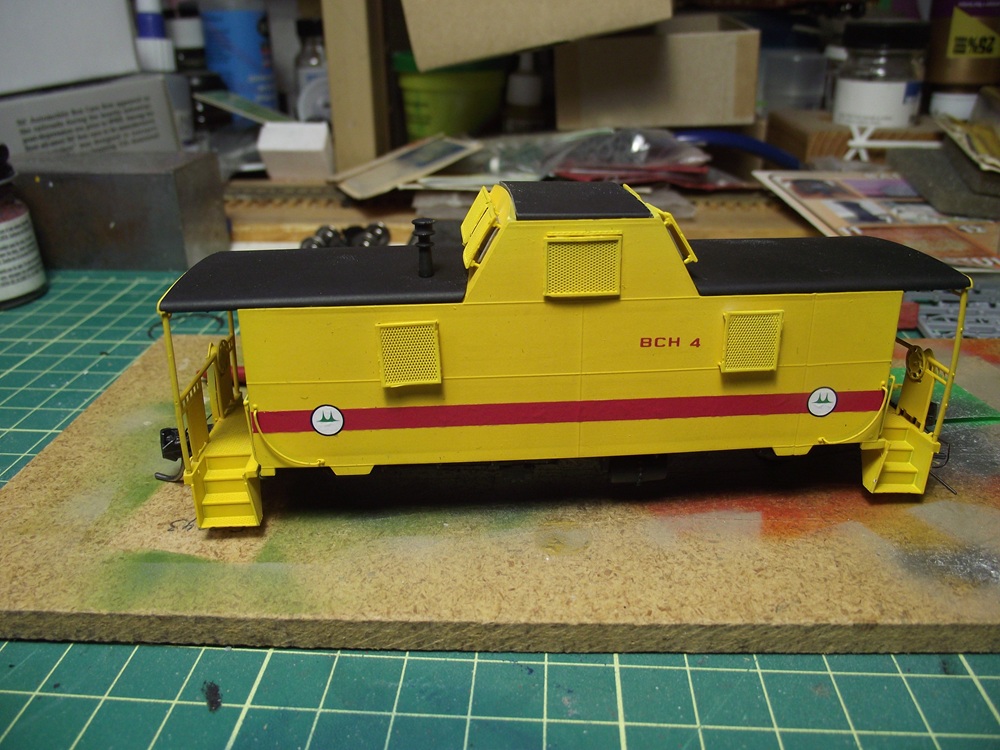
I first glued the end platforms onto the frame, then installed the railings into the end platforms. I had to very carefully open up the holes in the platforms for the railings to fit with a #55 drill bit. After that I glued the body and frame together. The kit is supposed to be put together with some very small 90-00 screws but I had some trouble lining up the holes in the frame to the holes in the body.
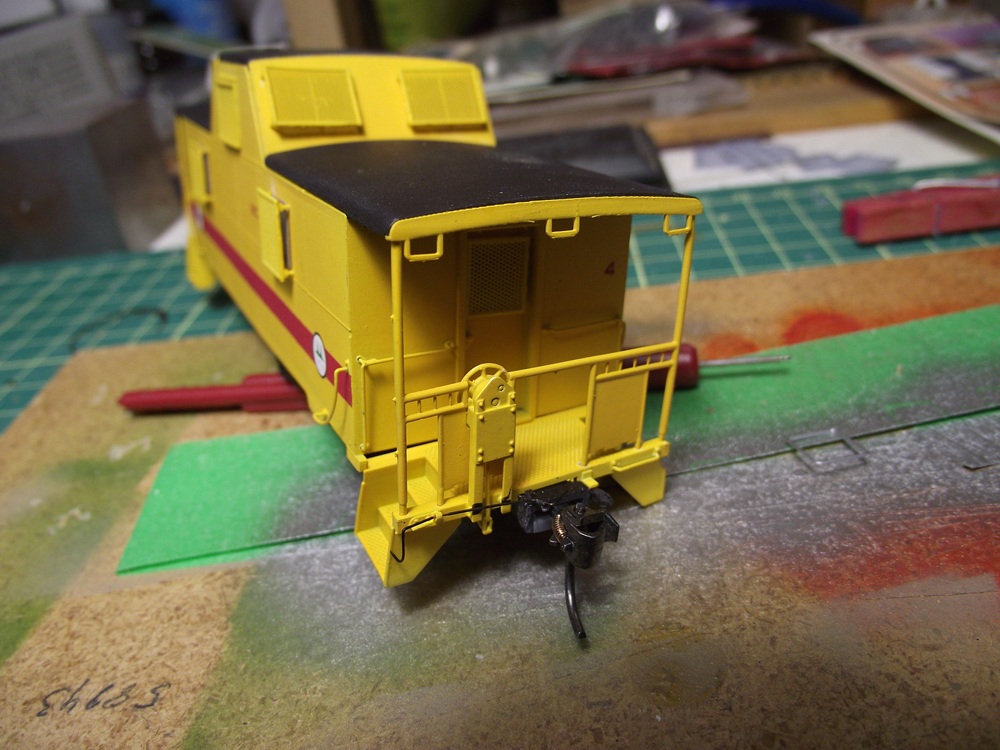
I installed couplers and the train air line. The kit comes with a pre-bent couple cut bars that are treaded through an extemely small hole in the end of the platform.
The customer is supplying his own trucks so I just threaded the truck screws into the bolsters and left it at that.
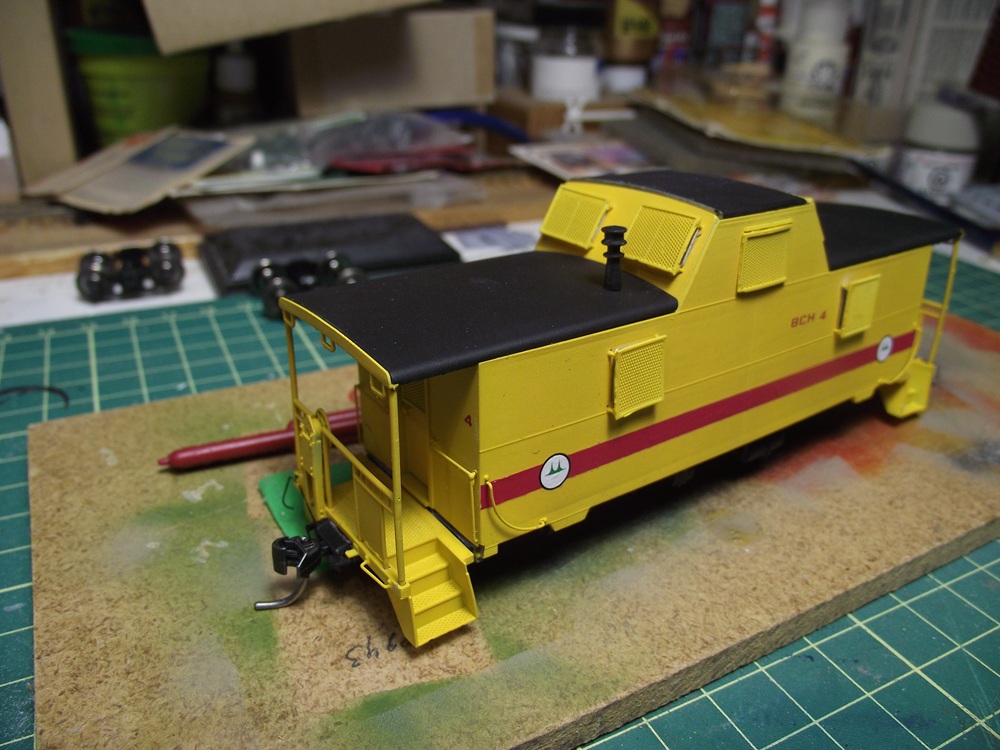
The last thing I did was add the security screens to the windows. This was actually easier that I thought is was going to be. on the front and rear of the cupula and the side windows there are pins that fit into the small holes that I pre drilled. The other screens fit into their postions very well too.