Posts: 2,959
Threads: 158
Joined: Dec 2008
Nice work on those curved handrails. 
--
Kevin
Check out my Shapeways creations!
3-d printed items in HO/HOn3 and more!
<!-- m --><a class="postlink" href="https://www.shapeways.com/shops/kevin-s-model-train-detail-parts">https://www.shapeways.com/shops/kevin-s ... tail-parts</a><!-- m -->
Posts: 2,724
Threads: 160
Joined: Dec 2008
If you look at the the prototype photo you'll notice that the windows have a sunshades. I cut them from some scrap styrene and installed them in there proper place.

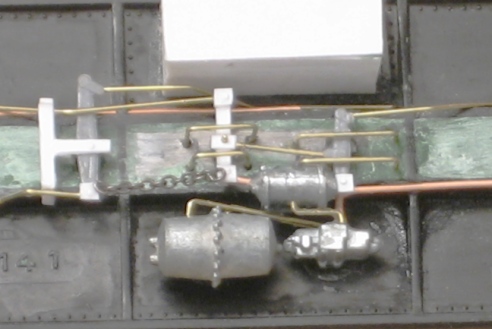
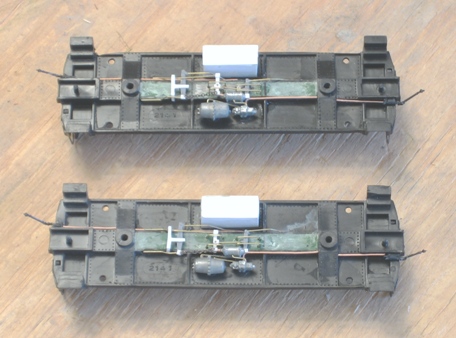
As for the undercarriage I'm using a Proto 2k north eastern caboose as a guide. It shows all the brake rigging and other details. It also has a solid center beam, The Varney frames do not, this is a great place to hide some weight. So, I filled them in with some lead and covered it with some green putty.I also installed The A-B valve and reservoir in there correct place.

The photo also shows a large tool box hung under the frame. I fabricated it from some of the same scrap as the sun shades. I also used the space to hide some more weight that was also covered in putty.

My other car is a locomotive, ARHS restoration crew
Posts: 2,724
Threads: 160
Joined: Dec 2008
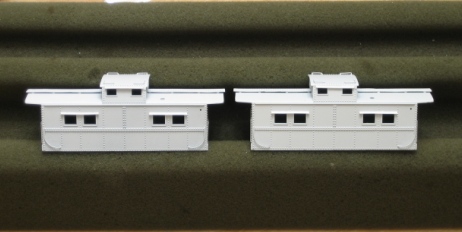
With all the major changes complete It's off to the paint shop for priming.It's just some rattle can white primmer.
My other car is a locomotive, ARHS restoration crew
Posts: 2,724
Threads: 160
Joined: Dec 2008
Today's job was to finish the brake rigging, air lines, and air hoses. This is the first time I have ever tried this from scratch, I'm pretty happy with the results.
My other car is a locomotive, ARHS restoration crew
Posts: 3,683
Threads: 118
Joined: Jan 2009
That brake rigging turned out very nicely indeed! You're doing some great work. And I will also comment on how the handrails turned out perfectly.

Three Foot Rule In Effect At All Times
Posts: 2,724
Threads: 160
Joined: Dec 2008
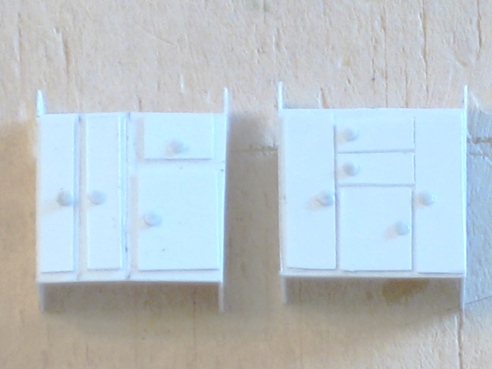
The interior was the order of business today. I started with the cabinates that suport the bunks in the center section. As a guide I used some prototype pics and the same P2K caboose as I did for the brake rigging.
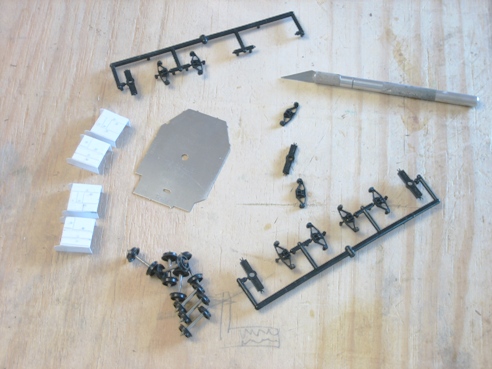
They were scratched from the same styrene as the sunshades.The empty space behind them will be a good place to hide some weight.
While they dried I asembeled the trucks, They are a Tichy Trains product and are a close enough match to the prototype. I mounted them temporarily as to protect the brake detail while I built the interior.
My other car is a locomotive, ARHS restoration crew
Posts: 2,724
Threads: 160
Joined: Dec 2008
I measured out the location of the bunks and cemented them into place.
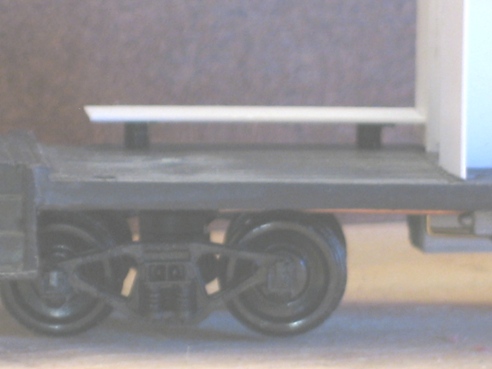
The corner handrails were then added when they were dry.
On one side there is a bench and a desk, so they were the next to go in.
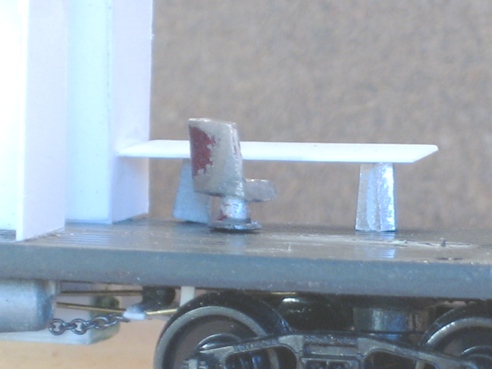
The conductors chair started life as an executive chair that I filed down to something a little simpler.

My other car is a locomotive, ARHS restoration crew
Posts: 2,724
Threads: 160
Joined: Dec 2008
This side is off to a good start, I'll start the other side soon.
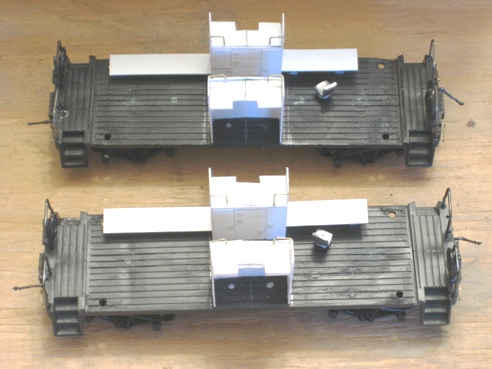
The odd cutouts in the top of the bunks are to clear a support molded into the inside of the car body,
My other car is a locomotive, ARHS restoration crew
Posts: 2,959
Threads: 158
Joined: Dec 2008
very nice work! I especially like the brake rigging.
--
Kevin
Check out my Shapeways creations!
3-d printed items in HO/HOn3 and more!
<!-- m --><a class="postlink" href="https://www.shapeways.com/shops/kevin-s-model-train-detail-parts">https://www.shapeways.com/shops/kevin-s ... tail-parts</a><!-- m -->
Posts: 4,161
Threads: 174
Joined: Dec 2008
I recognize the primer paint on a caboose like from my project that but that's where the similarity ends with your intricate work on brake rigging and interior details! I'm envious! 
Ralph
Posts: 2,724
Threads: 160
Joined: Dec 2008
It was back to the paint shop today. The Interior got a few coats of Polly Scale D&H gray.
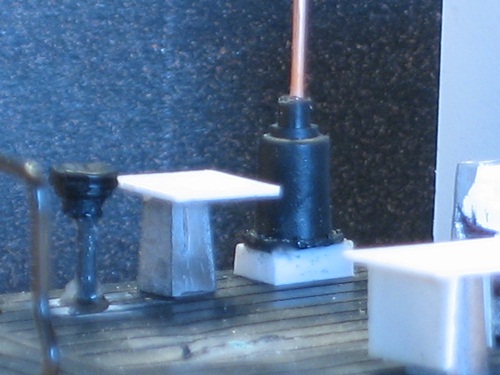
While that dried I put some work into the inside furnishings.
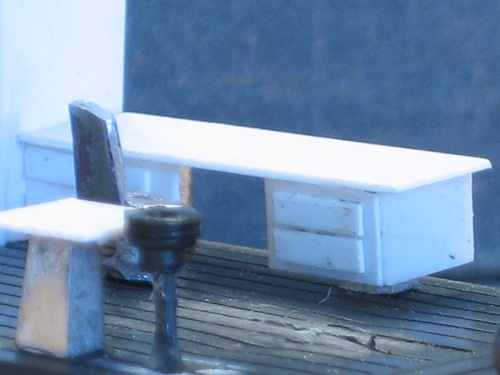
The desk got a set of draws and I installed a stove, sink and tabble.

My other car is a locomotive, ARHS restoration crew
Posts: 2,724
Threads: 160
Joined: Dec 2008
At the same time as all of that was going on the paint crew masked off the windows and gave the outside it's first coat of caboose red.
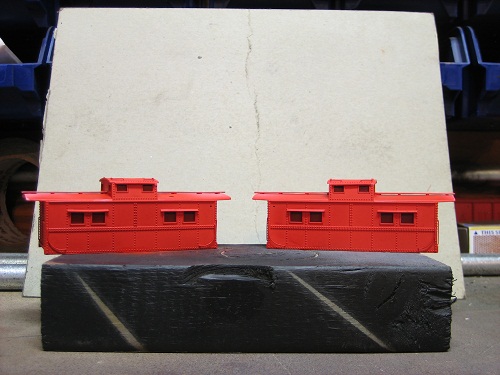
The roof will get brushed with some engine black. This will match the mid 40's paint scheme that fits the era of my layout.
My other car is a locomotive, ARHS restoration crew
Posts: 6,194
Threads: 1,126
Joined: Nov 2008
I love looking at great detail work!!!! Fantastic!!!!  
Posts: 2,959
Threads: 158
Joined: Dec 2008
Great work.  I probably have one or two of those life-like cabooses floating around. Your project has inspired me to dig one out and see if I can make use of it.
--
Kevin
Check out my Shapeways creations!
3-d printed items in HO/HOn3 and more!
<!-- m --><a class="postlink" href="https://www.shapeways.com/shops/kevin-s-model-train-detail-parts">https://www.shapeways.com/shops/kevin-s ... tail-parts</a><!-- m -->
Posts: 2,724
Threads: 160
Joined: Dec 2008
The paint crew was hard at work again on #580 and 582. The herald, stripes, and #'s are on . I also placed the safety reminder on the ends.

The decals that I used are all from Microscale. LNE #87-882 for the heralds,, PRR #87-67 for the numbers and stripes or the bottom,, And RDG #87-691 for the safety markings.
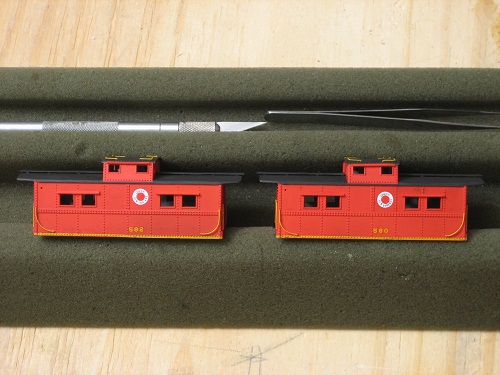
The grabs were painted with Poly scale refer yellow. I still need to find some marker lights, weather, install the glass, Finnish the interiors,,,,,,,,,,,, :? Only about half way there...
My other car is a locomotive, ARHS restoration crew
|


