Posts: 2,724
Threads: 160
Joined: Dec 2008
After I removed the coil springs I started shaping the leaf springs.
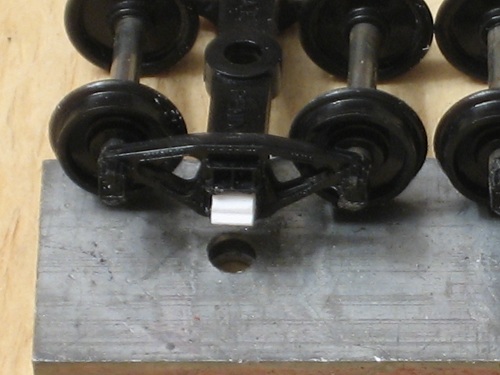
I did this by filing the edge of some scrap plastic to give it the profile of the individual leaves. Then I measured the width of the spring and cut it to size with a Chopper.
I'm glad that I only have to do this for one car because It's no fun. With the 4 springs cut I glued them in place of the coil springs.
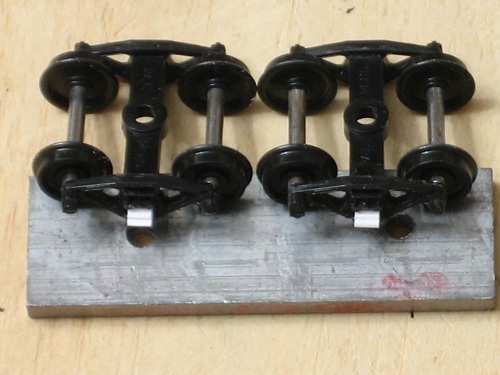

I also roughed up the floor of the interior to to give it a more used appearance.
My other car is a locomotive, ARHS restoration crew
Posts: 2,959
Threads: 158
Joined: Dec 2008
Yikes! Looks like delicate work. I've never bothered to swap out truck coil springs for leaf springs before. It has always been one of those "good enough" situations.
--
Kevin
Check out my Shapeways creations!
3-d printed items in HO/HOn3 and more!
<!-- m --><a class="postlink" href="https://www.shapeways.com/shops/kevin-s-model-train-detail-parts">https://www.shapeways.com/shops/kevin-s ... tail-parts</a><!-- m -->
Posts: 2,724
Threads: 160
Joined: Dec 2008
The folks at the paint shop were hard at work again. The base coats have now been applied to the interior and end details.
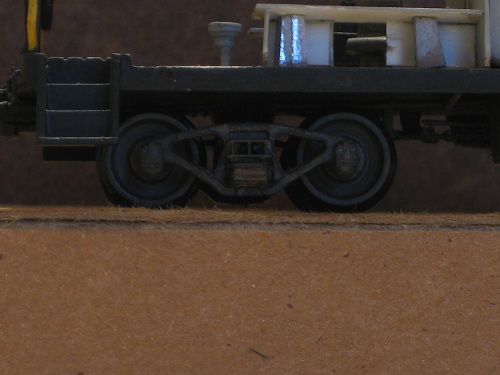
I also have installed the trucks and couplers.
I weathered the trucks to put some miles on them.Here you can see the difference between the coil springs, and the leaf springs on the finished product.These are for # 582
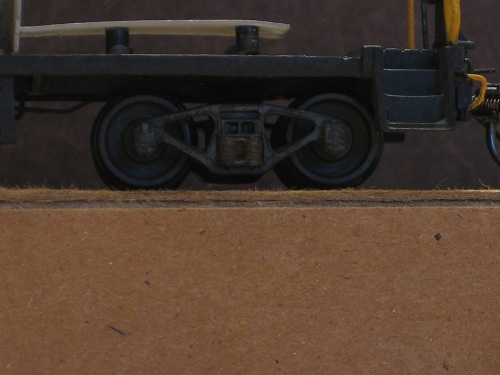
#580 gets the leaves.
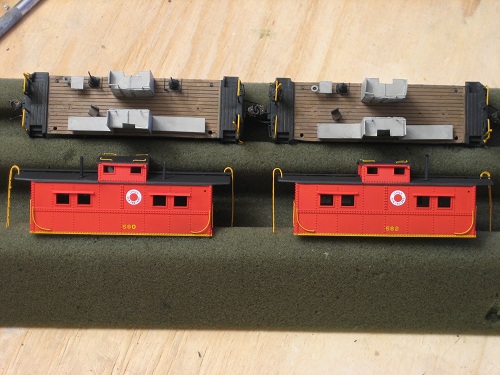
There is still plenty left to do.
My other car is a locomotive, ARHS restoration crew
Posts: 2,959
Threads: 158
Joined: Dec 2008
the interiors are fantastic

--
Kevin
Check out my Shapeways creations!
3-d printed items in HO/HOn3 and more!
<!-- m --><a class="postlink" href="https://www.shapeways.com/shops/kevin-s-model-train-detail-parts">https://www.shapeways.com/shops/kevin-s ... tail-parts</a><!-- m -->
Posts: 4,161
Threads: 174
Joined: Dec 2008

They look terrific!
Posts: 3,683
Threads: 118
Joined: Jan 2009
I never thought about modifying coil spring trucks to make caboose trucks. That is cool! Now, I have a few extra sets of caboose trucks that need to be converted to coil spring trucks.
Three Foot Rule In Effect At All Times
Posts: 2,724
Threads: 160
Joined: Dec 2008
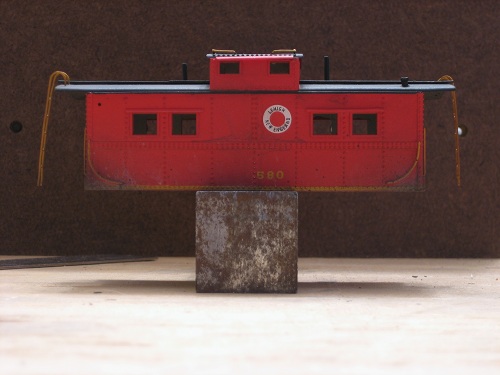
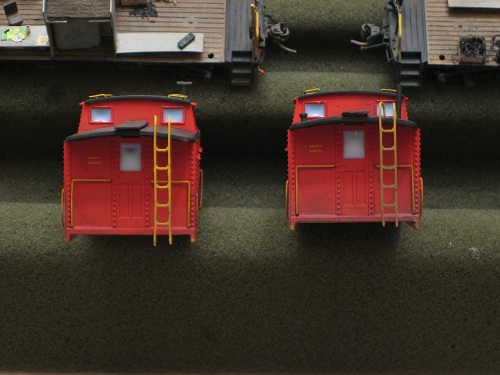
I broke out the airbrush today and started the weathering process, here we have #580. I wanted to weather this one a little on the heavy side.
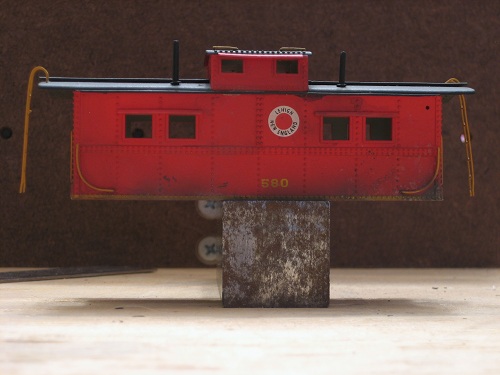
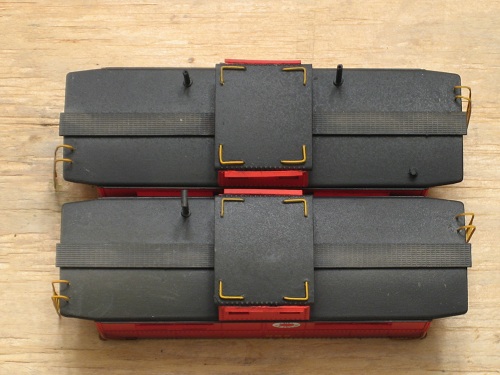
All the weathering was done with Polly Scale Grimy black, Rust, Aged concrete, and Roof brown.
In this pic you can see a top view of both cabins.
My other car is a locomotive, ARHS restoration crew
Posts: 2,724
Threads: 160
Joined: Dec 2008
Here is the weathering job on #582. I kept the weathering on this one a little light.
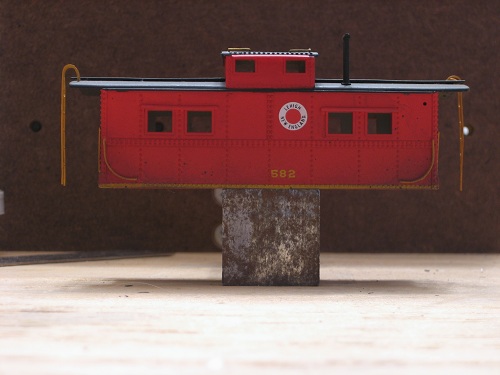
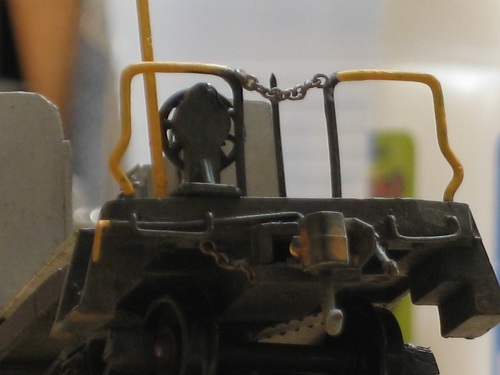
All the same colors were used here also.
In this shot you can see that I added the end chains and the chain for the hand brake.
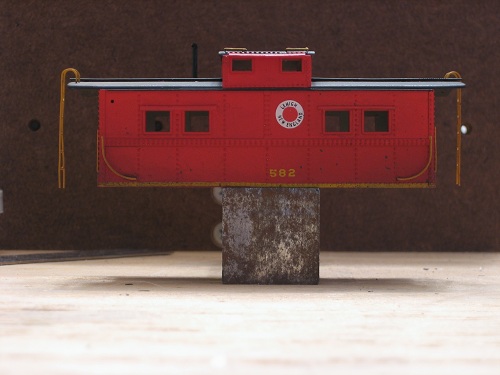
My other car is a locomotive, ARHS restoration crew
Posts: 2,724
Threads: 160
Joined: Dec 2008
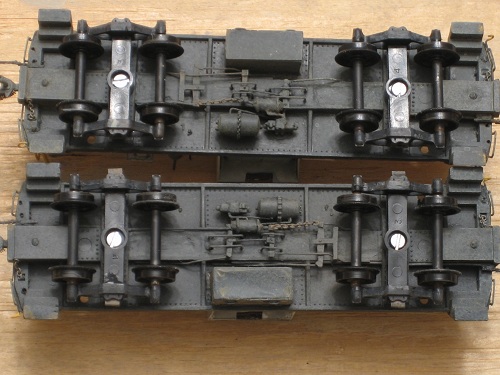
Using some washes of the same colors I weathered the under frames.
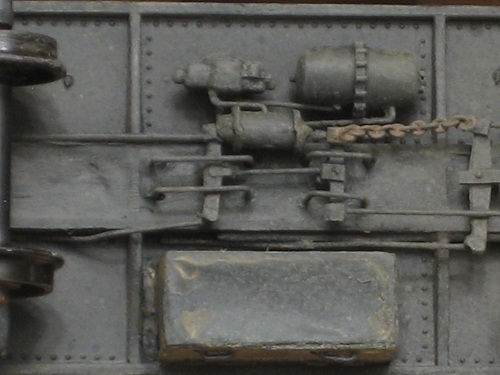
While that dried I started on the window glazing.
Instead of using some clear plastic I applied a bead of Testors Clear Parts Cement around each window opening on one end of the car. Then using the applicator tip I pulled it into the center of the window in a circular motion until the whole window had a thin film of cement across it. when it dries it will be perfectly clear.
My other car is a locomotive, ARHS restoration crew
Posts: 2,724
Threads: 160
Joined: Dec 2008
I also started working on detailing the interiors. This is # 580 , I hung a dirty shirt on a hook, added a coal bin filled with real anthracite, some clutter on the desk and the movable ladders for the cupola bunks.
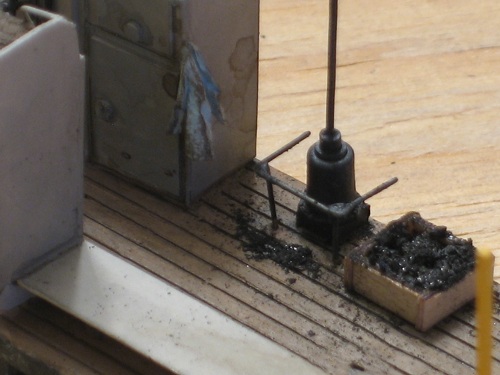
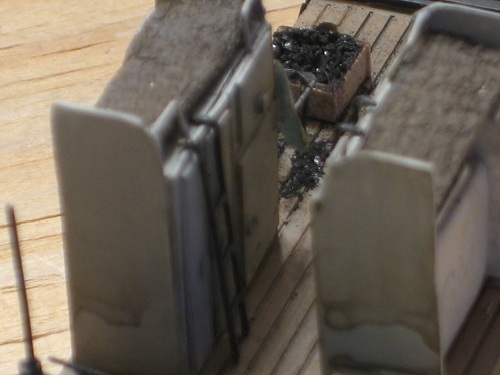
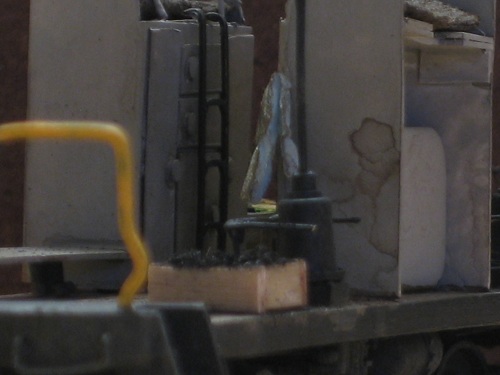
I figured that a little spilled coal adds to the lived in look.
My other car is a locomotive, ARHS restoration crew
Posts: 2,724
Threads: 160
Joined: Dec 2008
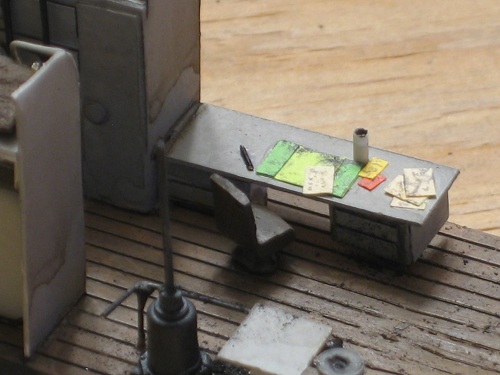
Here is the desk of #580.

Now on to #582, This cabin gets a single stove and the coal bin on the opposite side of the bunk.
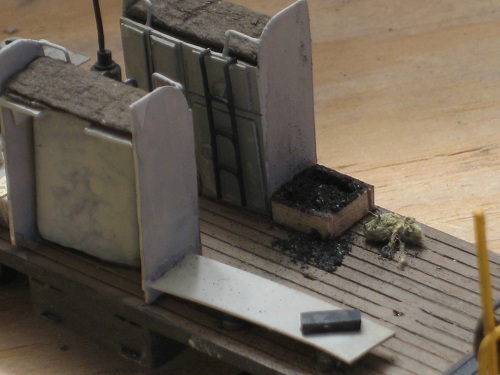
582 also gets a mail bag tossed on the floor.
This is the desk and stove side of the interior.
My other car is a locomotive, ARHS restoration crew
Posts: 2,959
Threads: 158
Joined: Dec 2008
--
Kevin
Check out my Shapeways creations!
3-d printed items in HO/HOn3 and more!
<!-- m --><a class="postlink" href="https://www.shapeways.com/shops/kevin-s-model-train-detail-parts">https://www.shapeways.com/shops/kevin-s ... tail-parts</a><!-- m -->
Posts: 3,683
Threads: 118
Joined: Jan 2009
Absolutely fantastic! The interior detail is A+!
Three Foot Rule In Effect At All Times
Posts: 4,161
Threads: 174
Joined: Dec 2008
Posts: 5,859
Threads: 175
Joined: Dec 2008

Nice work on adding all those details, Steve.


I was just wondering, though, if the bunk placement in the cupola was standard L&NE practice or if it was particular to these two examples? Any cabooses which I've been in had seats in the cupola (two on each side, one facing forward and the other to the rear), while the bunks were in the lower area, usually as fold-downs. The storage lockers were as you've modelled them, under the cupola.
Wayne
 I did this by filing the edge of some scrap plastic to give it the profile of the individual leaves. Then I measured the width of the spring and cut it to size with a Chopper.


 They look terrific!

