Trestle restoration
#31
This has been a really cool thread to catch up on. It looks amazing! Can’t wait to see what comes next.
————————————————————————————
Modeling the East Broad Top as it was between 1937-1942
~Amanda
Reply
#32
Thanks everyone.

Color!


I jump ahead  a bit, forgetting to take a few picture in between but I colored the rockwork and painted the rest of the ground.
I used Woodland scenics rock coloring pigments, usng their 'leopard spot' technique. They have a great tutorial on their youtube page.  Then I painted the non-rock areas in a tan paint. When that was done I started to work on the facsia.
I used some 1/8" hardboard for the facsia. The local home improvment store also cut my 4X8' sheet into 2X4 sections. I then taped the hadboard to the sides on the module and traced the outline of the  scenery.


Some short work with my jigsaw and a fine blade and I had the two pieces of fascia.I also cut out the UP-5 holes.


I decided that the fascia was going to be permanet so I used some construction adheisive to attach it. This stuff has a stange smell, not very strong but enough that I moved the operation outside.
   

each side was glued one, taped into place (it didn't really need clamps) and let to set an hour before flipping the madule over and gluing the other side. once a couple hours had passed  these weren't moving, let alone ever coming back off.


I them filled the gaps between the facia and the scenery with some spakling. Don't worry about the pink, this stuff goes on pink and turns white when it dries. When it does dry, I'll sand the edges of the facsia down and paint the filler.
Reply
#33
A whole lot of progress.
   

I moved the module into my workshop, using the diplay stand that I built of the 'Hemsley Diorama. I then painted the filler and sanded the edges of the fascia. After that dried I applied ground foam to the slopes and up to the river on both sides. I used Woodland scenics fine earth blend held down with Matt Mod-podge. Looks not bad, but a bit mono-tone.


Tht's a bit better, I added some different shades of fine green gound foam.


Next, I turned my attention to the river. I sealed the ends around the fascia for when I pour the 'water'


Then I added the river bed. I used woodland scenics talus rock in two slightly differnet colors and some fine sand in places. After that I wanted to add a bit more dimension to the ground foamed areas.
     

I applied static grass over the gound foam. I used 7mm static grass, followed by grass flocking it fill in the areas. I still have a few places where the gound foam underneath is visible. 
   

I'll probably use my airbrush later to get a bit of diversity of color for the grass. I did run out of static grass halfway through and the new package was slightly greener than before, but I don't think it's tht noticeable. 
After the glue dried I peeled the masking tape away from the module where the trestle's footings will go and painted all the foundations.
     

And with that I glued the trestle into the module. I used weldbond glue and added some weights to the top of the trestle to hold it down as the glue set up. 


It has pretty good alignment side to side but I found that one end was about 1/16" high. I added a basswood shim on the end and I'm waiting for that to dry before I can finish up the trackwork.
Reply
#34
That's going to be a highlight of many a show! The original owner is smiling down from the big house tonight!
Check out my "Rainbows in the Gorge" website: http://morristhemoosetm.wixsite.com/rainbows
Reply
#35
That looks great!!!! I'm sure you'll get lots of great comments on it.
~~ Mikey KB3VBR (Admin)
~~ NARA Member # 75    
~~ Baldwin Eddystone Unofficial Website

~~ I wonder what that would look like in 1:20.3???
Reply
#36
Wow! That is impressive. Looks great.
Tom
Silence is golden but Duct tape is silver
Ridley Keystone & Mountain Railroad
My Rail Images Gallery
Reply
#37
That looks stellar!
————————————————————————————
Modeling the East Broad Top as it was between 1937-1942
~Amanda
Reply
#38
Which shows is his likely to be at?
David
Moderato ma non troppo
Perth & Exeter Railway Company
Esquesing & Chinguacousy Radial Railway
In model railroading, there are between six and two hundred ways of performing a given task.
Most modellers can get two of them to work.
Reply
#39
Thank you everyone.
There's only one show it's going to be at so far. I live in the interior of British Columbia so it's a bit of a journey to take this anywhere.
There is a show/swap meet in Peachland, BC in two weeks, that will be it's inaugrual showing. I hope to have the module completed to the point of operation by then but some cosmetic items might not be finished.
I've been working on the legs over the past couple nights. I think I found a solution to that problem.
Reply
#40
Another major step, adding legs.
Since the module is being stored on a shelf in my train room I wanted the sides to remain flat witout any extrusions. I came up with a way to attach the legs to the sides with the mounting hardware inset.


I found these threaded inserts at Home Depot. They are coarse thread on the outside, machine thread inside. I also bought some antique brass bolts  the attach the legs.


The insert is screwed into the plywood on the side. I used the bolt to ensure it was straight. When I was happy with it's alignment I took it back out and applied some 5 minute epoxy to the threads before  screwing it in for the final time.


I then attached to legs and let the epoxy set up before flipping the module over and installing the other side.


I used these to make the leveling feet to the legs. If you're going to attacg your module to others, these are a must.


and all four legs are done. I'll probably paint them and the fascia at a later date. I'm getting down to crunch time to make the module operational in less than two weeks.


Attached Files Image(s)
   
Reply
#41
You have done a great job and the levelers are a must. Don't forget pictures from the show and have someone take a picture of you in front of this beautiful module when it is in use at the show and share it with us please. 

Worship Worship Worship

Charlie
Reply
#42
Those bolts to attach the legs are pretty nifty!
————————————————————————————
Modeling the East Broad Top as it was between 1937-1942
~Amanda
Reply
#43
Thank you everyone. It's scheduled to be at it's first show next Saturday and Sunday. 
I have finished it to operation, starting with the trackwork:
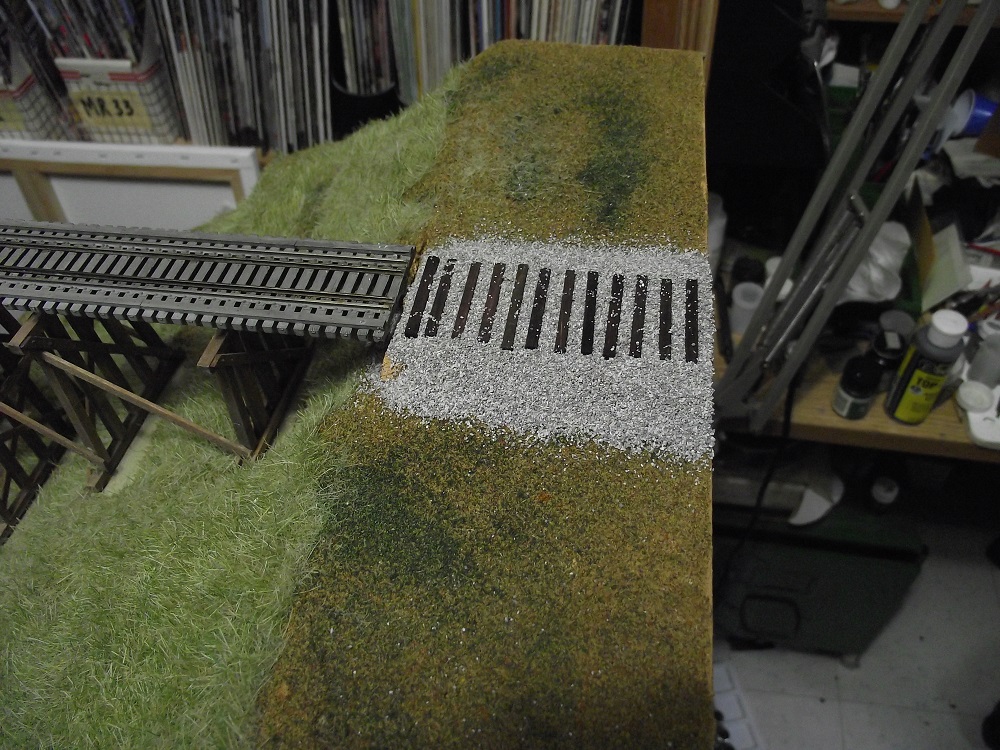
   

Since I'm hand-laying the ends, I glued the ties and ballast down first. There is a standard for ballast in Free-mo. You are supposed to use WS fine grey ballast for the first 6" of your mainline on both ends. The club decided to go with light grey, the one color I didn't have. I also didn't like the light gray so I went with their blended gray. I doubt anyone will have a hissy fit over it as the ballast can change color depending on what you use for glue.
   

It was a bit of a challenge to attach the short pieces of rail to the trestle. When it was removed for the layout the rails were simply cut with a dremel tool. The track on the trestle is Micro Engineering briudge track so I had to carve the spikes away from the first tie so I could slip the rail joiner on. I then soldered the rail to the bridge track. Usually when I hand lay track I spike every 3-4 tie but I spiked almost every tie this time as this will be attached to other modules and needs a bit of extra strength.
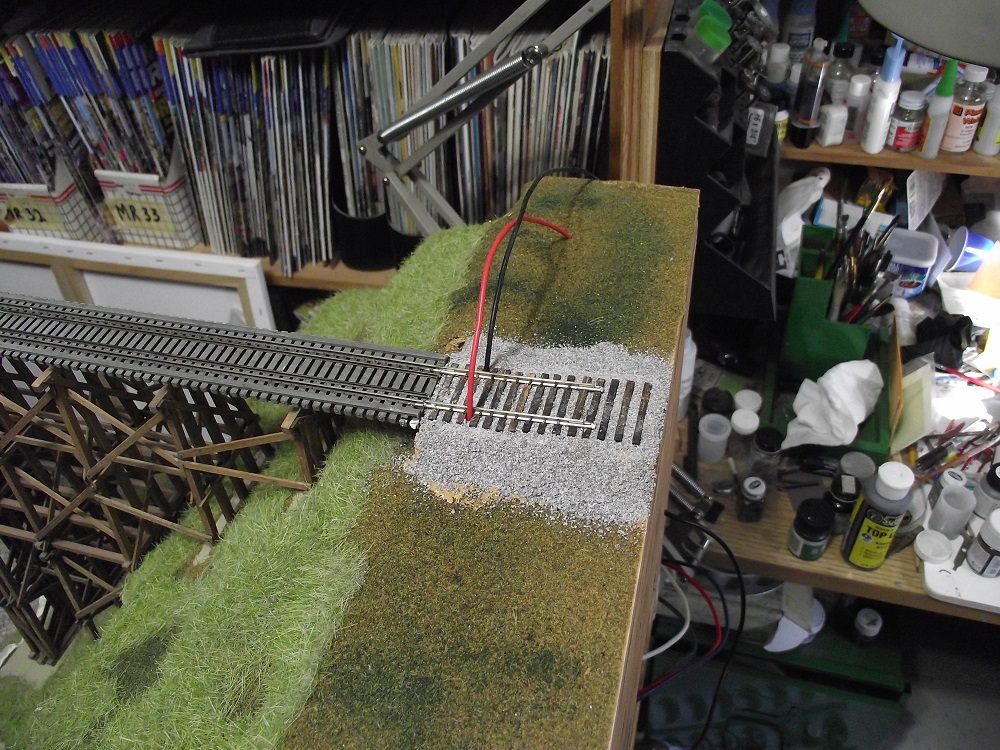
     

Then I wired in the feeders to the track. The nice thing about handlaying is there's no plastic ties to actidentally melt when soldering.


Then I installed the two UP-5's and hooked up the loconet cable. 
With that it's technically operational.
But now I have a bit of time for some detail work.
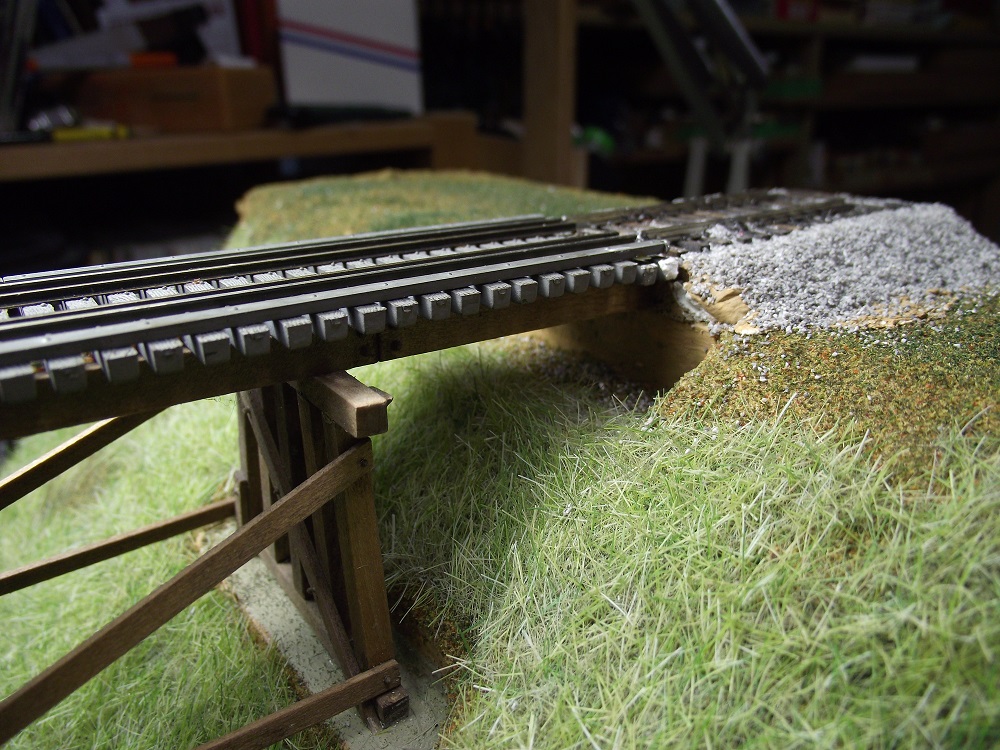
   

I need to install the abutments on each end.


So I went into my tracklaying supplies and found a back of switch ties. These were just the right length and with a bit of staining, they fit right in. I'm going to use some bushed and ground foam to blend them in.
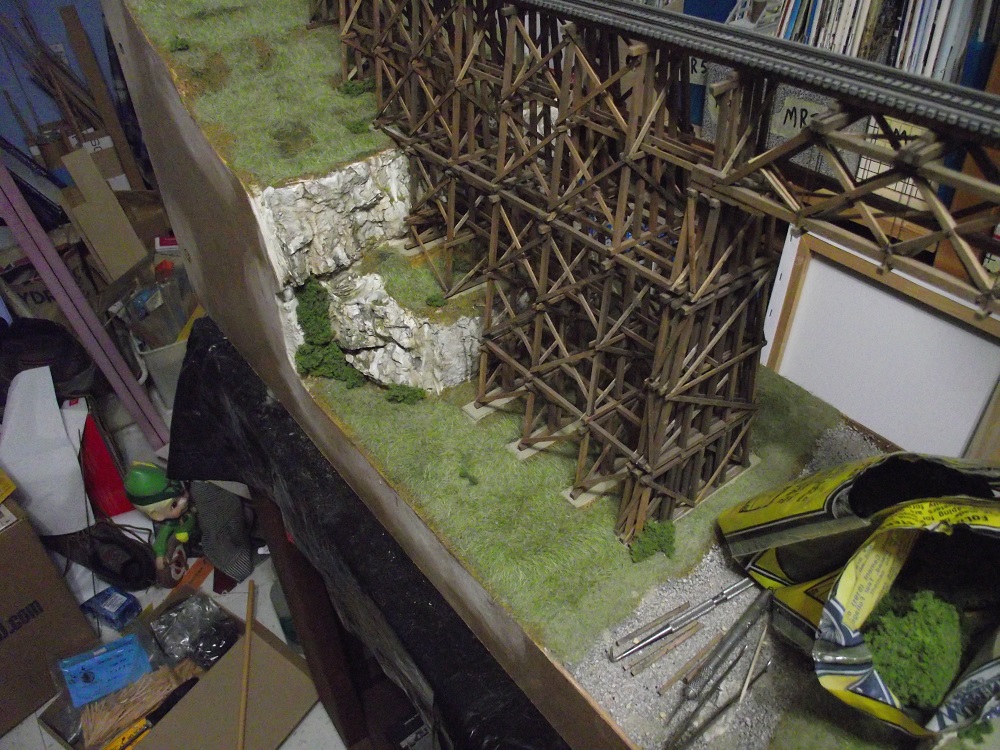
   

And speaking of bushes, I used some WS clump foilage to add some bushes around the module, mostly to cover senery mistakes that I made. 
I'm not sure how much of this I shold add, I don't want to over do it  and loose the effect of the grass.
Reply
#44
Well, back from the show. It was a learning experience to set up a bunch of modules and try to get them running. Mostly because almost all the modules were new and thee were varying degrees of completion/conformity. More on that later.


Here's the module standing on it's own legs for the first time. It only took about 5 minutes to attach the legs and join the module to the other two on each side, a bit longer to level it. I can confirm that the leg attachment is fairly strong and strudy.


Here's the engraved dedication plate that I had made up. I'll attach it to the fascia when the sides are painted.


My kitbashed doddlebug crossing the trestle


Posing with the module.


Here's the entire setup. As you can see some of the modules are no more than trackwork and others are fully completed. I didn't have a problem with that but it was a bit frustrating when it took so long to set everything up. It took about 4 hours to attach all the modules together and get them level on the Saturday afternoon. Then it took almost all Sunday to finish/fix the wiring plus cut all the joining rail. I found that some of the freemo standards were a bit  too loosly followed by a number of builders. Particually in trackwork and wiring. 
However there were a number of standout modules.
   

We have a few prarie transplants in the group. and then all built modules with grain elevators. 
This one was called Prarrie Gold
   

Here's another Grain elevator module:


A bit of a Star Wars fan.

Here's a really unique module, based on a really life washout situation that happened in the Fraser Canyon area two years ago.


And a photo of the real thing:
   
Reply
#45
Very nice. Thanks for the photo update. You have a right to e very proud of your build.
Charlie
Reply


Forum Jump:


Users browsing this thread: 1 Guest(s)