11-05-2023, 10:07 PM
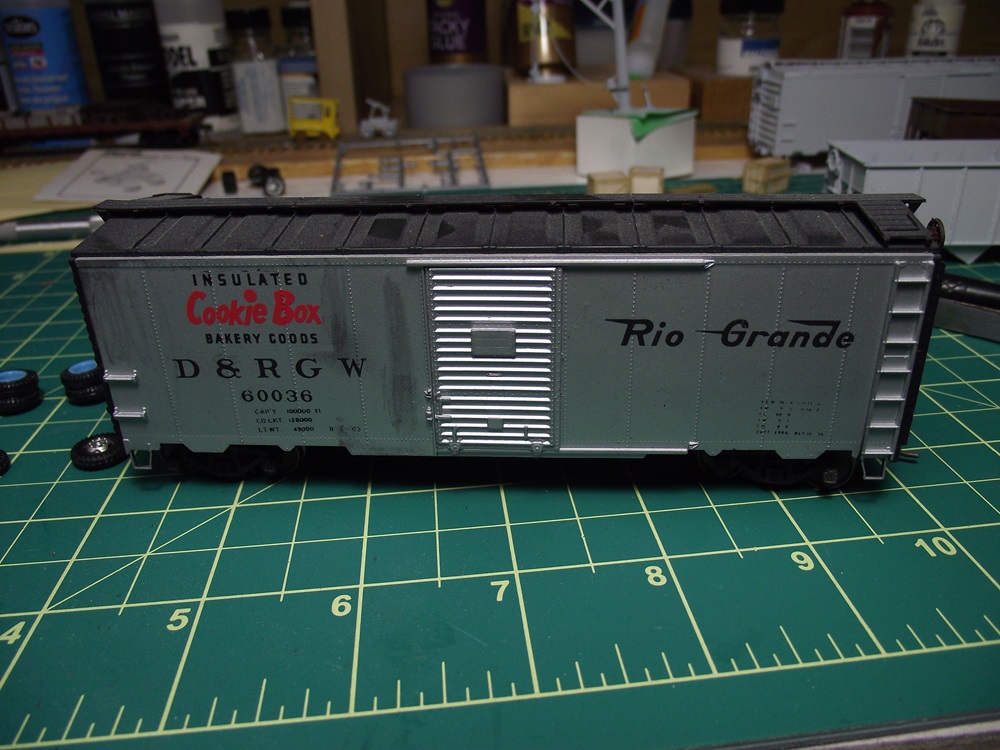
Continuing to finish up some projects. I found a Branchline Blueprint 40' AAr boxcar awhile ago and painted it for Denver and Rio Grande Western:

Why this roadname after painting so many CN and CP cars? Well I've alway liked the D&RGW and if I wasn't modeling Canadian, I'd probably be modeling this.
I had the decals in my collection for a number of years and this was the perfect candidate for them. However I had two sets of decals so I wanted a second car. Finding another indentical boxcar kit was easy but expensive (especially shipping) So I waited until I found another build boxcar at a swap meet.

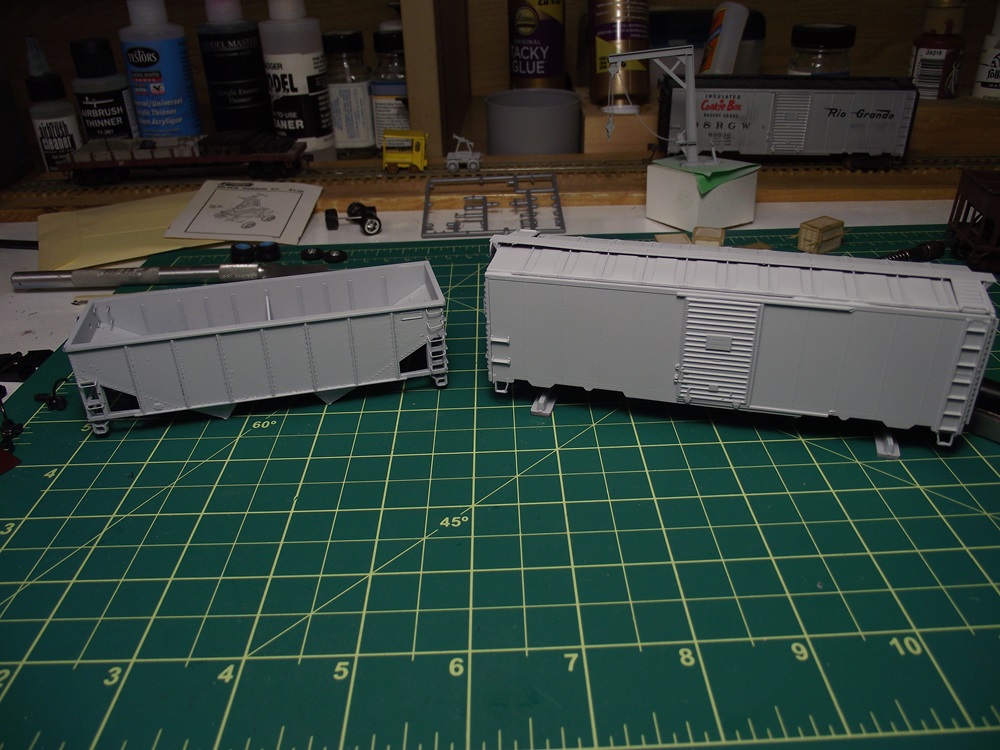
It needed to be stripped of paint and ecals and a few repairs but at 3$ I couldn't go wrong.

This afternoon I sprayed it in primer along with an Athearn hopper that I also had in the projects pile.

Up until now I've been using light gray paint from a rattle can to primer my painting projects. A couple months ago another modeller gave me a lot of Vallejo products including paints, thinners, airbrush cleaning fluid and two bottles of Acrylic-Polyurethane primer. I had never used it before but it airbrushes well right out of the bottle and cleans up with water. The finish was quite acceptable with any flaws being my fault. I think I'll be using this from now on as long as the paint goes on well overtop of it.
Why this roadname after painting so many CN and CP cars? Well I've alway liked the D&RGW and if I wasn't modeling Canadian, I'd probably be modeling this.
I had the decals in my collection for a number of years and this was the perfect candidate for them. However I had two sets of decals so I wanted a second car. Finding another indentical boxcar kit was easy but expensive (especially shipping) So I waited until I found another build boxcar at a swap meet.
It needed to be stripped of paint and ecals and a few repairs but at 3$ I couldn't go wrong.
This afternoon I sprayed it in primer along with an Athearn hopper that I also had in the projects pile.
Up until now I've been using light gray paint from a rattle can to primer my painting projects. A couple months ago another modeller gave me a lot of Vallejo products including paints, thinners, airbrush cleaning fluid and two bottles of Acrylic-Polyurethane primer. I had never used it before but it airbrushes well right out of the bottle and cleans up with water. The finish was quite acceptable with any flaws being my fault. I think I'll be using this from now on as long as the paint goes on well overtop of it.


