Posts: 978
Threads: 62
Joined: Mar 2015
02-04-2024, 12:17 PM
(This post was last modified: 02-04-2024, 12:21 PM by cnrglen.)
Now that I'm well on the way to having a turntable on the layout I need an enginehouse to go along with it. A couple years ago I found that Juneco was re-issuing it's enginehouse kit:
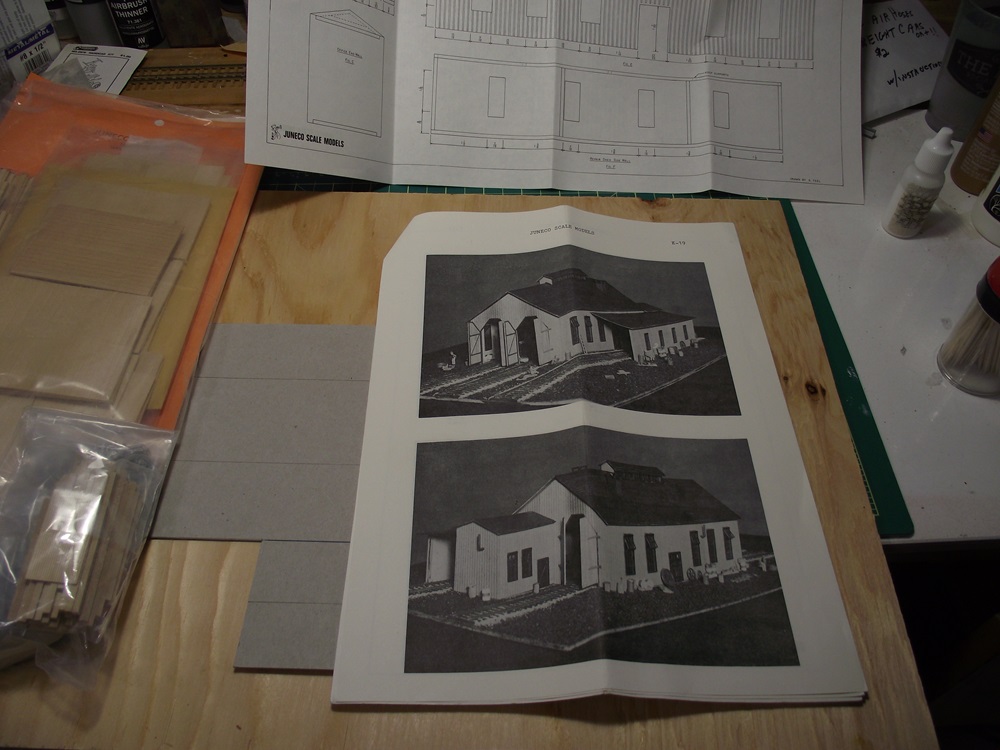
It's a two stall enginehouse with an optional car-shed and rear office. I remember Juneco's ads for this in Model railroader in the eighties and wanting this kit. At that time I was in my early teens with no money so I never bought it. I also doubt I would have had the skills at the time to attept something like this.
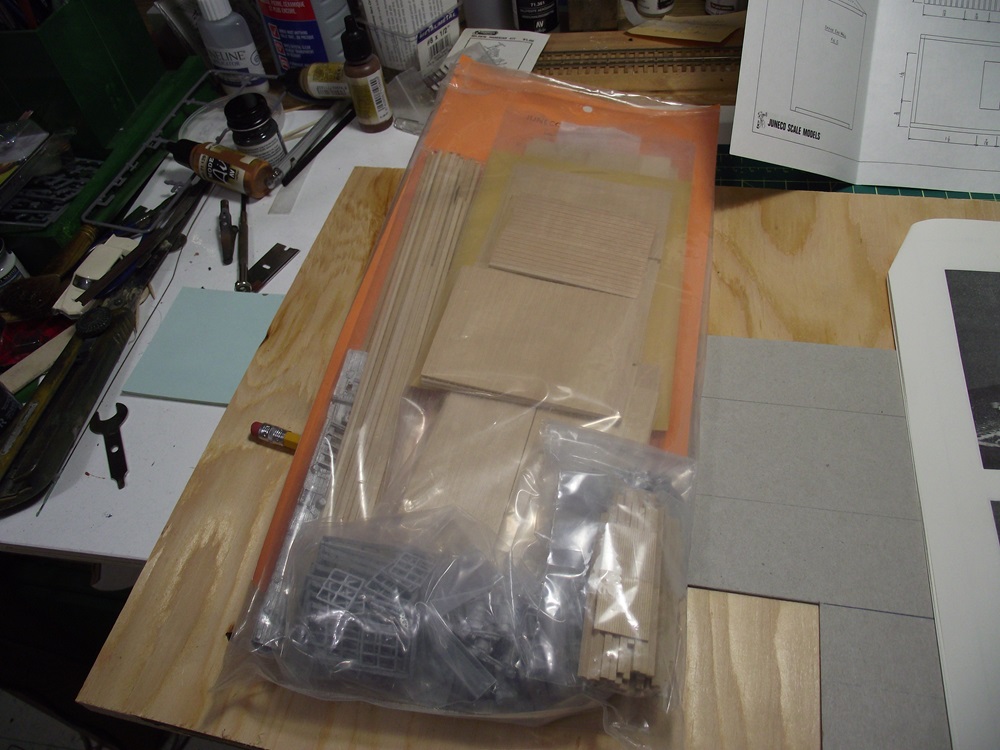
Even though it was re-issued, it's still pretty old-school. The walls look like they are cut to size but I will have to cut the window openings myself. The windows and details are all white metal castings as well. Not that I'm complaining, I look forward to the challenge.
Another indication of how old the kit is, the instructions recomend using a solution of shoe dye and alcohol for coloring the walls and floor. I'll be substituting acrylic paints.
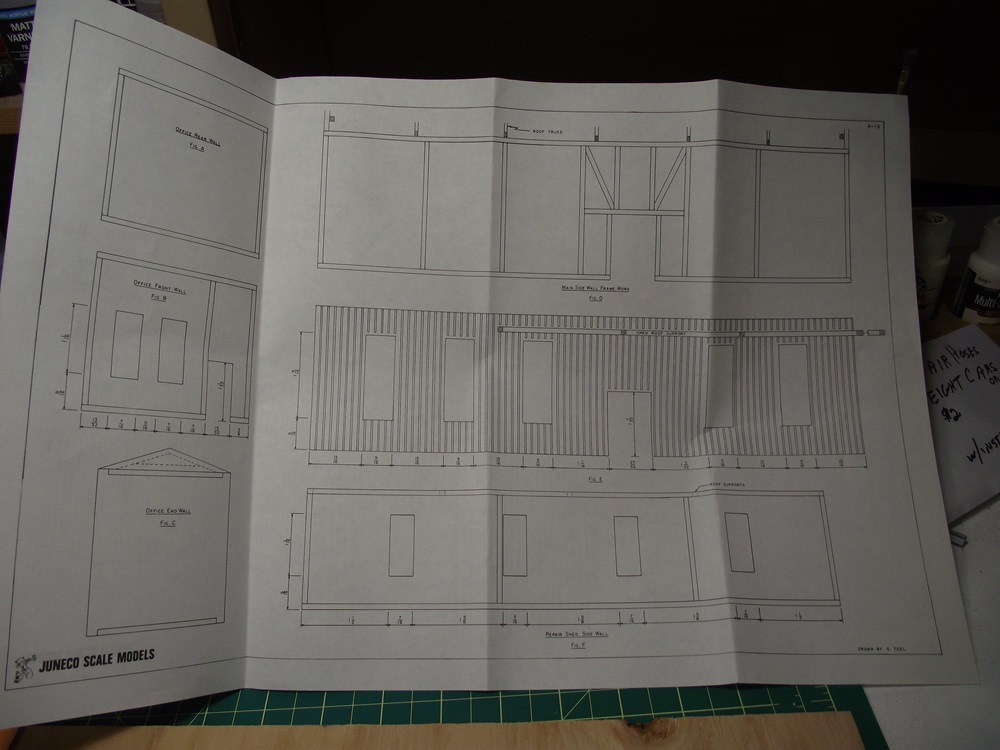
The kit does come with some very good instructions and schematics so I'm not that concerned that I'm over my head.
Posts: 1,301
Threads: 34
Joined: Mar 2009
I've seen those engine houses and thought about getting one. Can't wait to see the progress on this.
Matt
I can smell a steam post ten blocks away and when I do clear the tracks because the steam express will be hi ballin through
Conrail's Blairsville Cutoff - A Fictitious Alternative Route Over The Allegheny Mountains From Blairsville, Pa to Cresson, Pa
Posts: 978
Threads: 62
Joined: Mar 2015
I'm not sure if this kit is still available but try looking around at ebay or just do a google search.
As well there are others that are similar and might be easier to build, based on this kit's design era.
Posts: 978
Threads: 62
Joined: Mar 2015
I have started on two preliminary steps. One, I made a card footprint of the structure and two, the base that it will be built on. Unlike other structures this will have rails running into the structure so I'm building it on a 1/2" plywood base. The instructions say that they built theirs on a 13 X 22" base, so I cut mine to match:
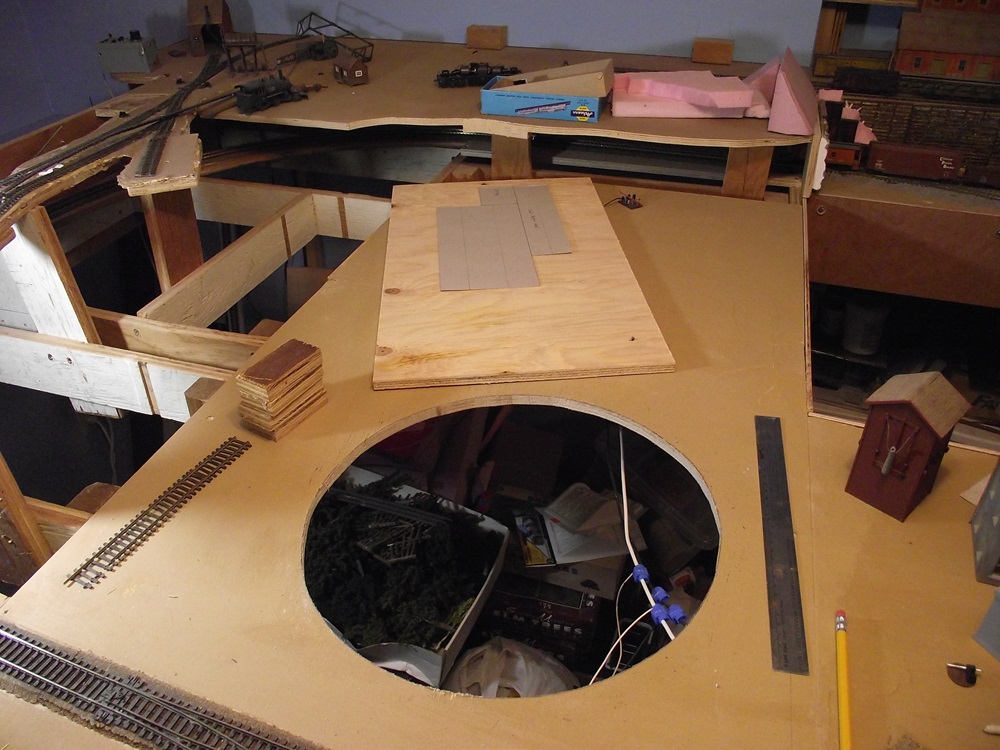
When I placed the base onto the layout I saw that it took up too much room for the area and it's considerably larger than the structure itself.
I need a smaller footprint because there will be other tracks coming off the turntable than just the three for the structure and I'd have to lay track across the base to do that.
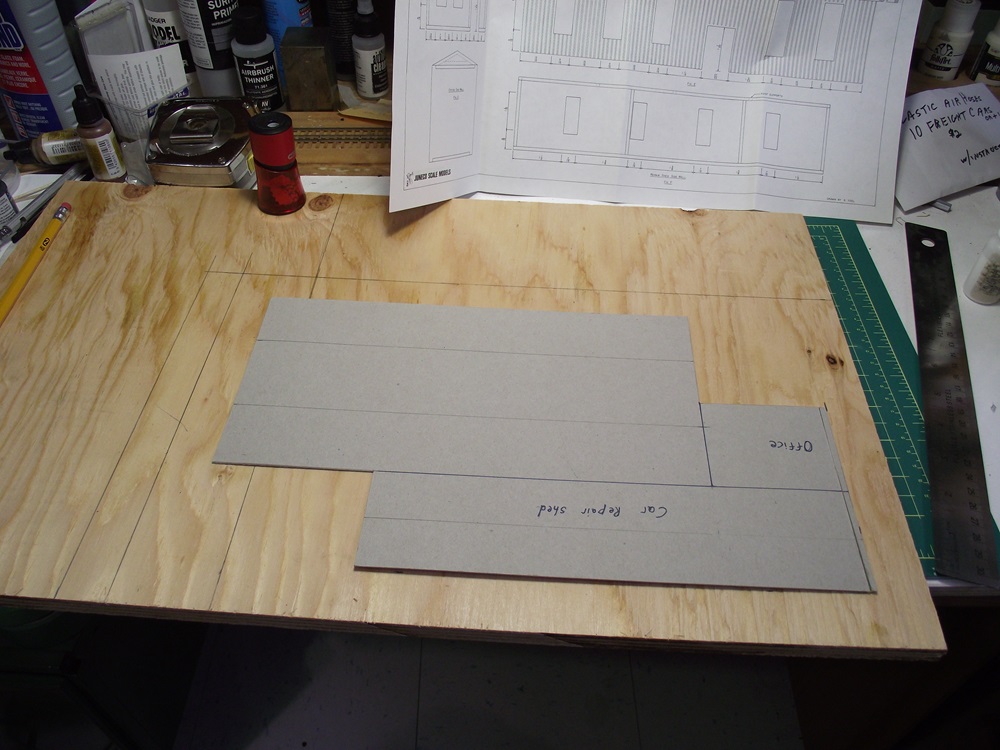
So instead I'll cut the base down to 1" larger around the building walls all the way around except the front, which will be 2". It will be a bit more managable on the workbench as well.
Posts: 1,301
Threads: 34
Joined: Mar 2009
(02-04-2024, 02:39 PM)cnrglen Wrote: I'm not sure if this kit is still available but try looking around at ebay or just do a google search.
As well there are others that are similar and might be easier to build, based on this kit's design era.
I'll have to check plus I'm up for a good challenge lol.
Matt
I can smell a steam post ten blocks away and when I do clear the tracks because the steam express will be hi ballin through
Conrail's Blairsville Cutoff - A Fictitious Alternative Route Over The Allegheny Mountains From Blairsville, Pa to Cresson, Pa
Posts: 978
Threads: 62
Joined: Mar 2015
I have been working on the kit and will update shortly. I had some trouble (on my part) figuring out the size of the base that I was going to build it on. I tried cutting a base slightly larger than I had orgiinaly cut but it still didn't work so I went back to the 1" laeger than the sturcture footprint. I've been working on the floors and foundations.
Posts: 978
Threads: 62
Joined: Mar 2015
Some progress:
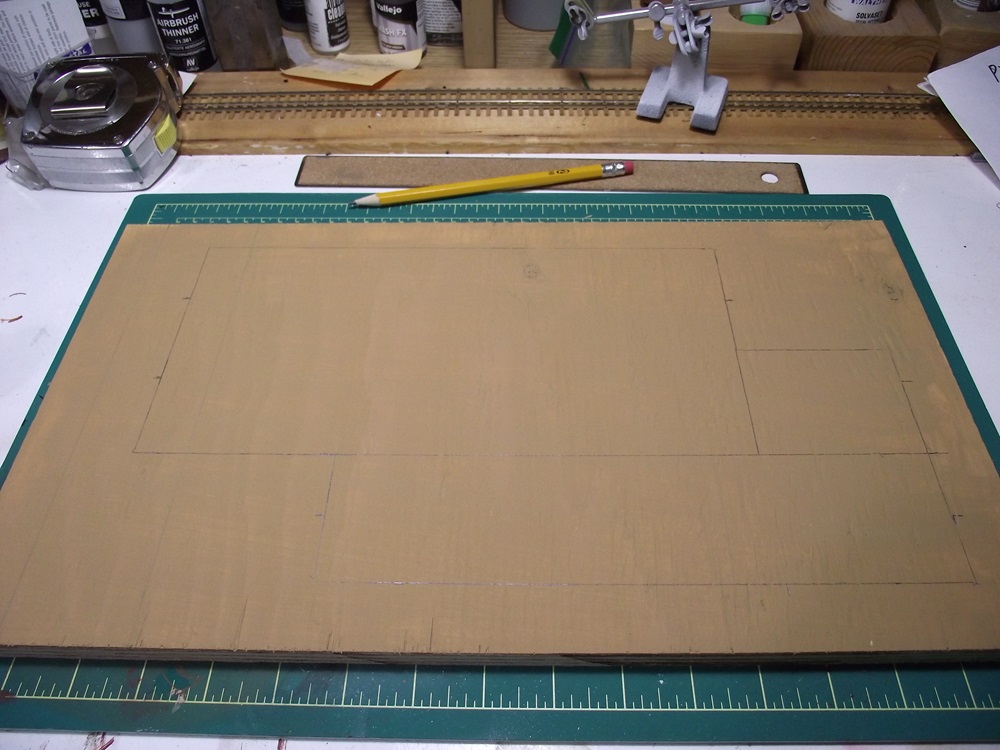
I painted the base and drew out the footprint of the structure.
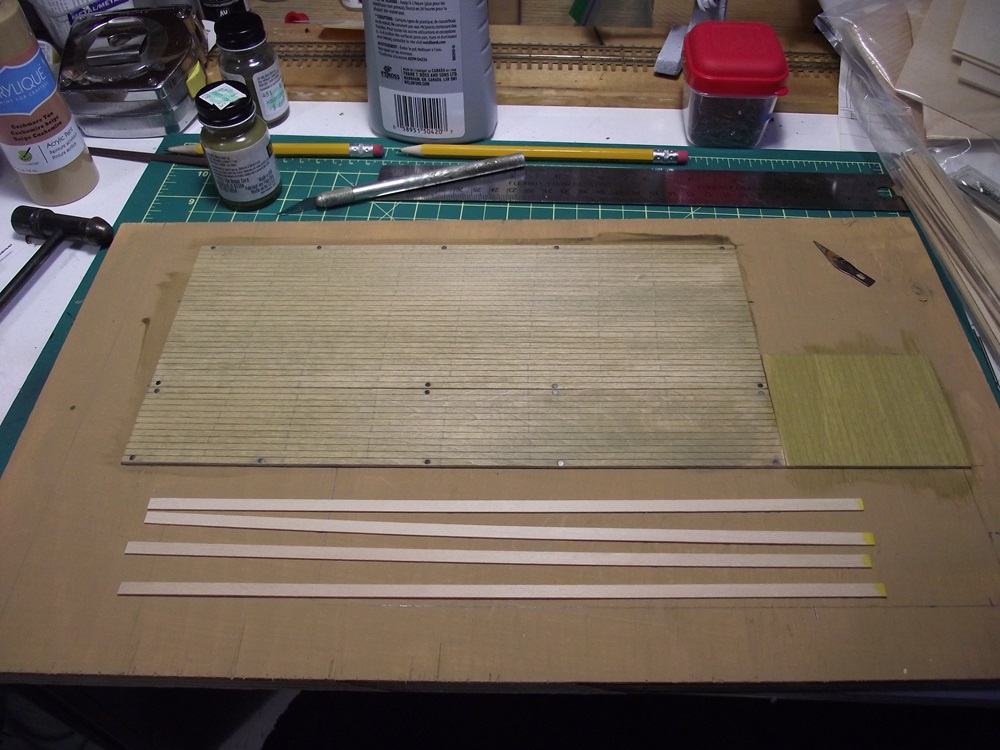
The main enginehouse floor comes in two pieces. The larger piece was warped, probably from being in the plastic bag instead of the boxes they used to have. I ended up gluing and tacking it down to the base to ensure that it would stay flat. I'm not too concerned with the tacks showing as the ones around the sides will be covered by the interior framing plus all the cast metal details included in the kit and the others are between where I'll lay the rails so a bit of creative weathering will fix that.
The smaller square on the right is the office floor.
After the glue dried I stained the enginhouse floor with testors StainFX oak and the office with Pine.
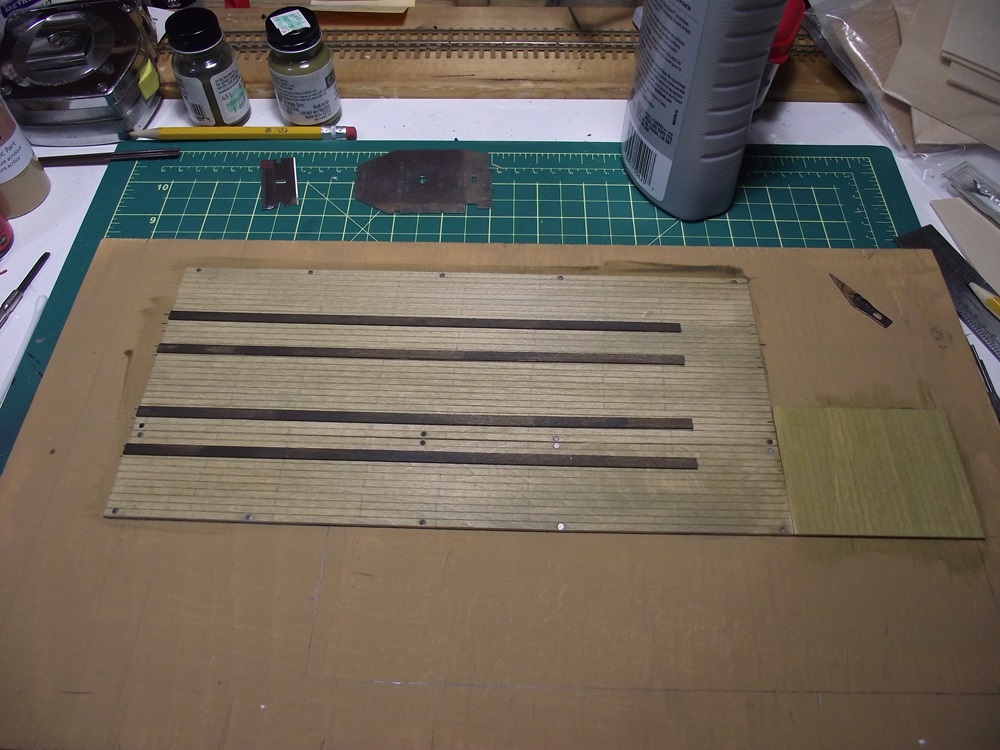
I then glued the rail bases onto the floor, these were painted with Poly-s' railroad tie brown.
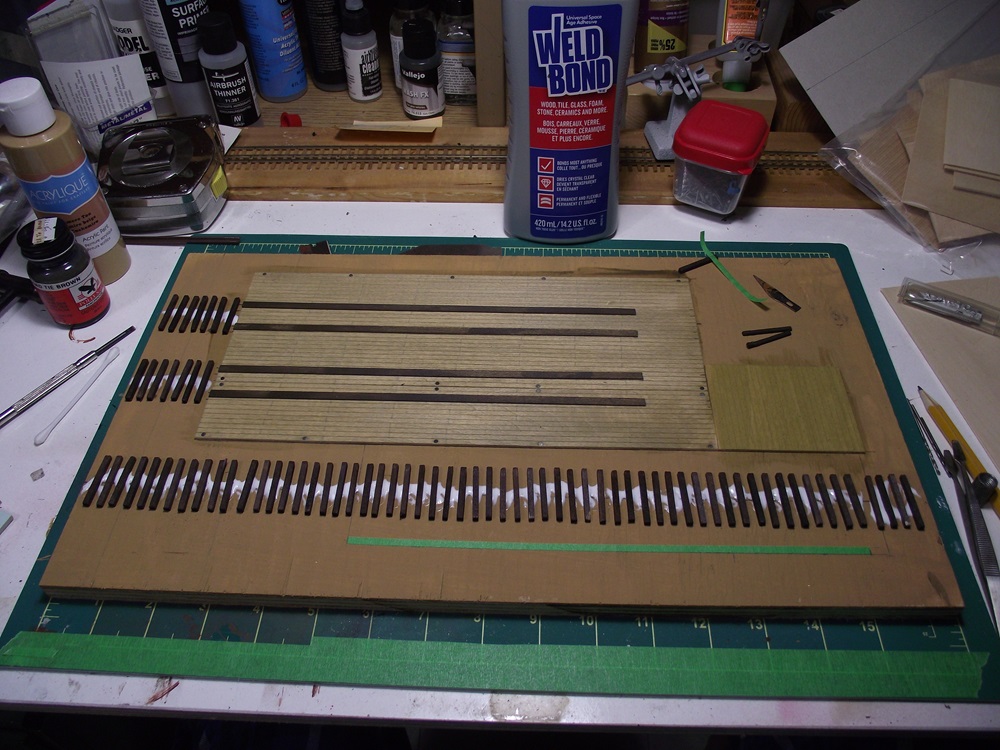
When the rail bases were glued down I used the height of the floor and rail base to determine the size of ties that I would need to match. I glued in the ties for the two enginehouse leads and the full length on the car shop lean-to. THe last thing I did was add the thin strip of masking tape where the wall for the car shop will go.
When the glue for the ties dries, I'll ballast the ties and add the preliminary scenery ground cover before adding rails.
Posts: 1,301
Threads: 34
Joined: Mar 2009
Making great progress.
Matt
I can smell a steam post ten blocks away and when I do clear the tracks because the steam express will be hi ballin through
Conrail's Blairsville Cutoff - A Fictitious Alternative Route Over The Allegheny Mountains From Blairsville, Pa to Cresson, Pa
Posts: 978
Threads: 62
Joined: Mar 2015
Thank you Matt.
I am trying to figure out what color to paint the enginehouse and can't really find any good photos online of a Canadian national wood enginehouse. I know typical enginehouses were painted boxcar or oxide red/brownbut I'd like to see if they were painted in any other/lighter colors?
Posts: 1,301
Threads: 34
Joined: Mar 2009
(02-11-2024, 10:05 PM)cnrglen Wrote: Thank you Matt.
I am trying to figure out what color to paint the enginehouse and can't really find any good photos online of a Canadian national wood enginehouse. I know typical enginehouses were painted boxcar or oxide red/brownbut I'd like to see if they were painted in any other/lighter colors?
You're welcome.
Yeah I can see what you mean by finding photo's. If I come across anything I will send it to you.
Matt
I can smell a steam post ten blocks away and when I do clear the tracks because the steam express will be hi ballin through
Conrail's Blairsville Cutoff - A Fictitious Alternative Route Over The Allegheny Mountains From Blairsville, Pa to Cresson, Pa
Posts: 2,537
Threads: 63
Joined: Dec 2008
Glen
I have a book Engine Houses & Turntables on Canadian Railways 1850-1950.
A very quick look tonight gives 2 descriptions of paint on wood roundhouses.
NTR Moncton: All interior brickwork was painted with two coats of whitewash, and iron and sheet metal painted black. All woodworkhad one coat of primer and two of white lead and linseed oil. (p 77)
CPR North Bend, BC: All woodwork was to have two coats of anti-corrosive paint and linseed oil.
All the pictures in the book are B&W, so they don't help. Some of them definitely look light on the outside.
David
Moderato ma non troppo
Perth & Exeter Railway Company
Esquesing & Chinguacousy Radial Railway
In model railroading, there are between six and two hundred ways of performing a given task.
Most modellers can get two of them to work.
Posts: 978
Threads: 62
Joined: Mar 2015
Thanks for the replies. I think I've decided on painting the building with Depot Buff with oxide red/brown windows, doors and trim. It will be a nice contrast and won't be so dark that the structure dissappears nito the scenery.
Speaking of scenery:
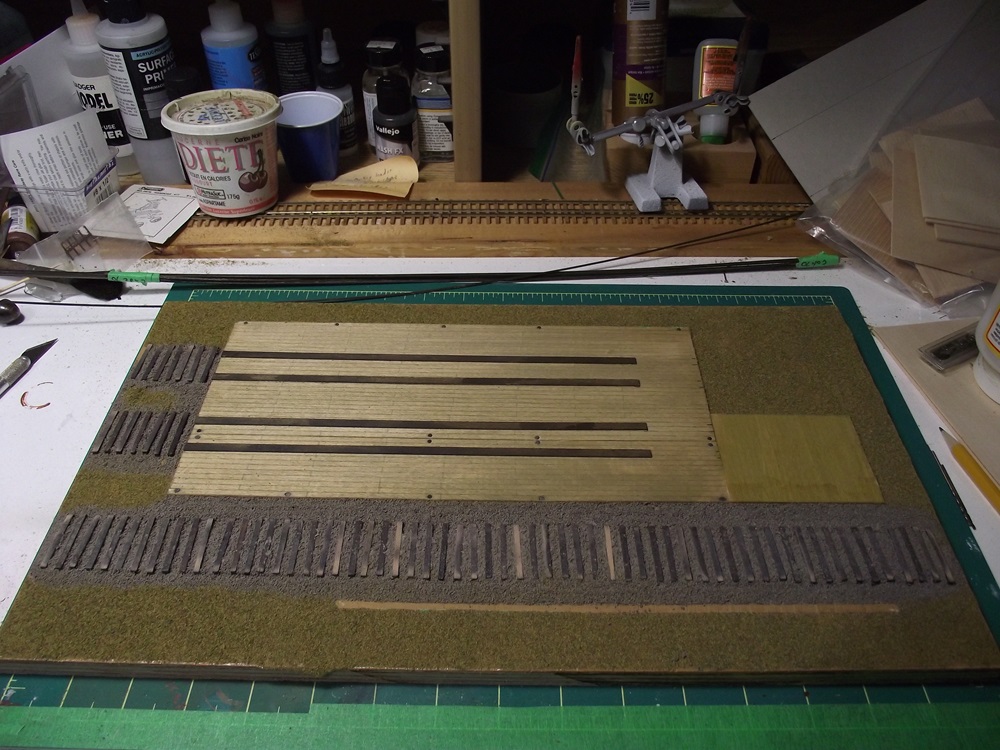
After the glue dried I added ballast to the ties, using Woodland scenics fine gray ballast. When that dried I sanded the tops of the ties to level the ballast with the tie tops and to provide some variation to the tie colors. I then gave the rest of the base it's first layer of ground cover with some WS fine earth ground foam.
Now I can start laying down some rail. There's about 38" of track to hand lay here.
Posts: 1,301
Threads: 34
Joined: Mar 2009
Looking excellent. Can't wait to see the completed project.
Matt
I can smell a steam post ten blocks away and when I do clear the tracks because the steam express will be hi ballin through
Conrail's Blairsville Cutoff - A Fictitious Alternative Route Over The Allegheny Mountains From Blairsville, Pa to Cresson, Pa
Posts: 978
Threads: 62
Joined: Mar 2015
I've started laying the rail:
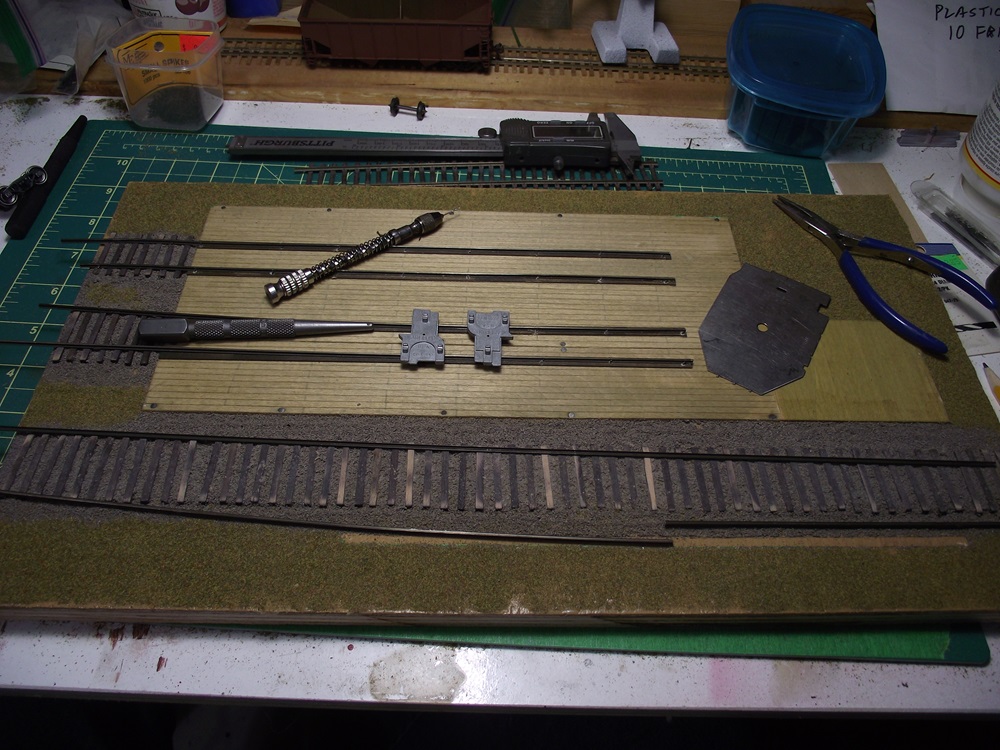
I'm using code 70 rail in the enginehouse and lean-to. I'll probably be using either code 70 or 83 on the other turntable tracks when that time comes. The instructions suggest contact cement for attaching the rail but I perfer spiking. I won't have to worry about the rails becoming unglued in the future and with soldering the wires, contact cement will protenialy melt whe it gets hot.
Spiking does take some time though. I can spike rail down at about 1 1/2" an hour. I'll just do a bit at a time to give my back a rest from leaning over the workbench.
Posts: 295
Threads: 18
Joined: Nov 2015
I’m a bit sad I missed this kit being available as it looks really nice. It’s definitely coming along well fot you and I can’t wait to see the finished product!
————————————————————————————
Modeling the East Broad Top as it was between 1937-1942
~Amanda


