Posts: 12,037
Threads: 579
Joined: Nov 2008
This is the start of another wooden puzzles. It's larger than the rest that I've done, but it's playable after it's finished, if assembled right that is. There's close to 500 pieces and the instruction manual is 58 pages, with the last 6 on how to play the game. I will not post every step, but I'll take a photo or two as I go along. Right now, this is what I'm attempting to build, and this is what was in the package, a stack of laser-cut plywood parts, a bunch of plastic parts, 26 bags of small mechanical and electric parts, an electronic control unit and some tools and tape. What's missing, a 5V-2A power supply, but I just happen to have one so that's not an issue.
I found several of these on the Internet that folks have painted and just looking at the parts, I figure 20-30 hours of assembly, add about another 100 hours if I were going to paint this sucker properly. I think I'll pass on paint for now since I'd have to paint it as I went and not after it was assembled.


Don (ezdays) Day
Board administrator and
founder of the CANYON STATE RAILROAD
Posts: 2,545
Threads: 52
Joined: Dec 2008
This should be interesting to see how it comes together.
Posts: 12,037
Threads: 579
Joined: Nov 2008
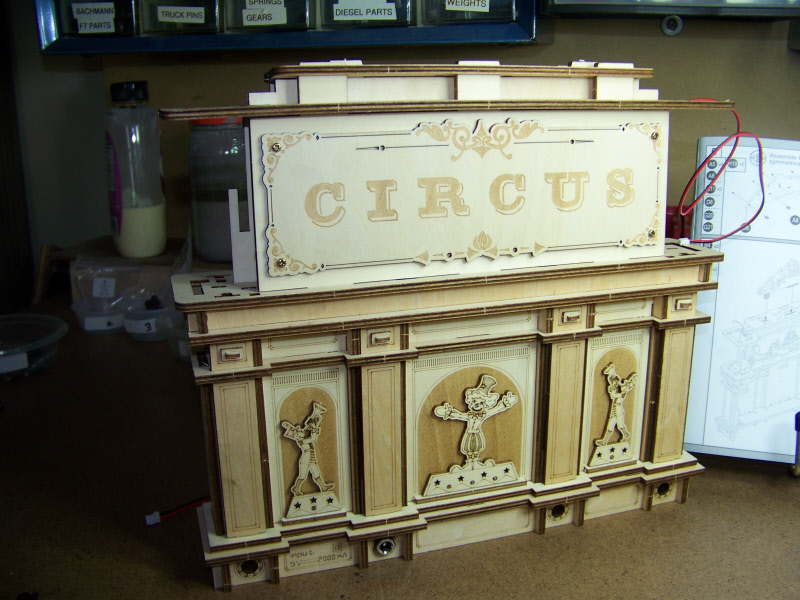
This is where I paused doing steps 1-4, there were some 62 parts to get to where it is and I figure I've got about three hours into it at this point. Since it's a functional pinball machine, most parts are heavier and bigger and it takes more time to fit parts together.
This is the front and reverse side of the backboard, no painted glass but a lot of 3D wood overlays. Those clowns and other figures are separate and could very well be painted but again, I'm just not ready for that since I'm guessing it would take at least an hour to paint one properly since there is so much detail burned into each one, plus there are more to come in future steps. So far, I'm impressed with how detailed the instructions are and if need be, there are videos on YouTube for each step.

Don (ezdays) Day
Board administrator and
founder of the CANYON STATE RAILROAD
Posts: 1,305
Threads: 141
Joined: Jan 2009
02-19-2024, 10:54 PM
(This post was last modified: 02-19-2024, 10:55 PM by jim currie.)
Don I guess if wood is your thing its going good.
Jim
Posts: 12,037
Threads: 579
Joined: Nov 2008
Continuing on, here's steps 5 and 6 which adds bling to the backboard. As for the wires, one is the power input, the other is for a string of LED lights. At this point I've got just about six hours into it and used 125 pieces of laser-cut plywood. Some pieces are small shaped pegs to hold other pieces together and attaching the figures. So far I've only used four screws, but there's a lot more to go and several bags of screws.
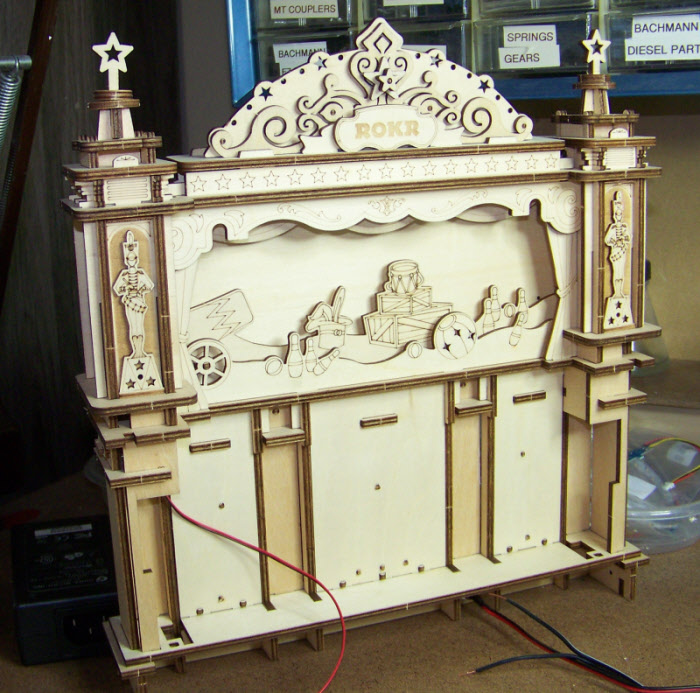
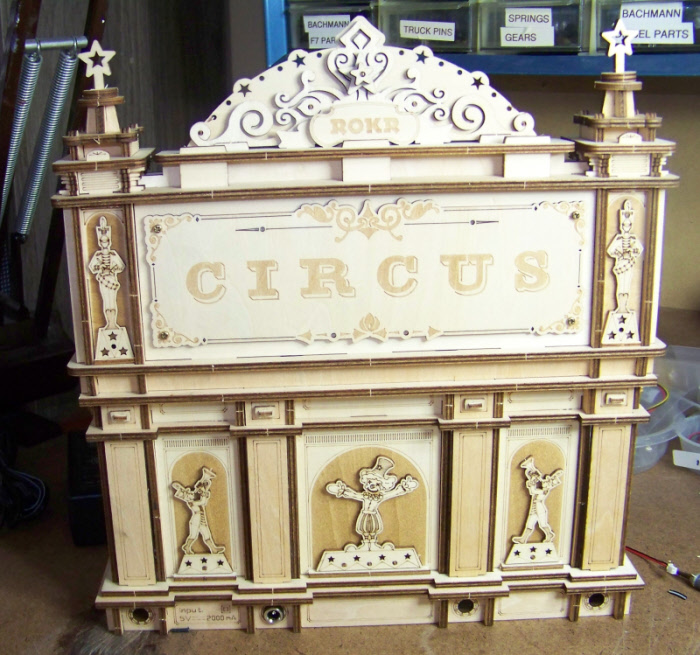
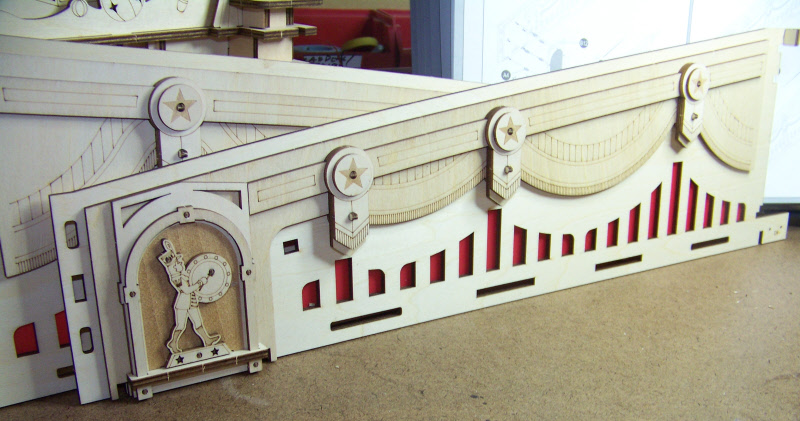
That was yesterday, today I finished steps 7 and 8, which are the two side pieces. Each one has 28 pieces to it. The first one took me about an hour, and I timed doing the second one and it came in a few minutes less, at 50 minutes to fully assemble. So over four days, I've got close to 8 hours into this and used 181 parts so I think my 20-30 hour estimate is close.
Don (ezdays) Day
Board administrator and
founder of the CANYON STATE RAILROAD
Posts: 3,021
Threads: 160
Joined: Dec 2008
That looks like frustrating fun!
--
Kevin
Check out my Shapeways creations!
3-d printed items in HO/HOn3 and more!
<!-- m --><a class="postlink" href="https://www.shapeways.com/shops/kevin-s-model-train-detail-parts">https://www.shapeways.com/shops/kevin-s ... tail-parts</a><!-- m -->
Posts: 3,755
Threads: 44
Joined: Dec 2008
You are a glutton for self inflicted pain and anguish my friend!
Mike
Sent from my pocket calculator using two tin cans and a string
Posts: 12,037
Threads: 579
Joined: Nov 2008
Thanks guys, but you have to admit that it will be really cool when it's done. I've retained a psychiatrist to be available 24/7, just it case, but so far I've found it challenging, enjoyable, requiring total concentration and best of all, it keeps me away from the TV, especially the newscasts.
Don (ezdays) Day
Board administrator and
founder of the CANYON STATE RAILROAD
Posts: 12,037
Threads: 579
Joined: Nov 2008
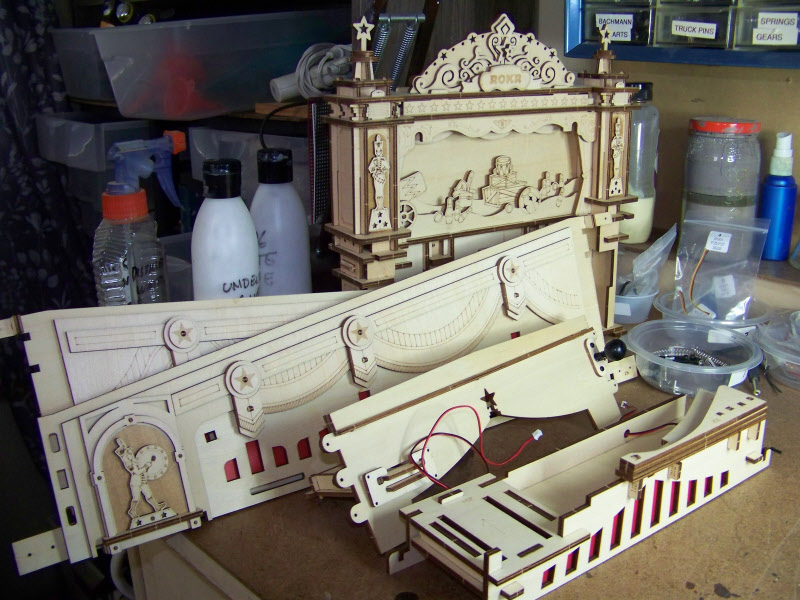
Here's where I am right now. I've finished step 10 out of 14 steps and at this point have five sub assemblies with no clue as to how and at what stage they will go together. So far I've use 165 of the 486 parts and have completed the first 19 pages of the instructions. I also have just about 10 hours into this, so from that one might conclude that I'm close to being half done... but wait. I've still have over 300 parts to go, and steps 11-14 take up 27 more pages before assembly is complete, so I'm guessing I'm about a quarter of the way through. No biggie, remember, I'm retired, living alone and can pick and choose what I do and when I do it. The thing is that this is so intriguing that it's hard to walk away.
Don (ezdays) Day
Board administrator and
founder of the CANYON STATE RAILROAD
Posts: 1,218
Threads: 33
Joined: Mar 2009
It is going to be really cool when it's done. You will have to take a video of it in operation.
Posts: 12,037
Threads: 579
Joined: Nov 2008
Thanks, I will do what I can for a video, let's hope it does work when it's done.
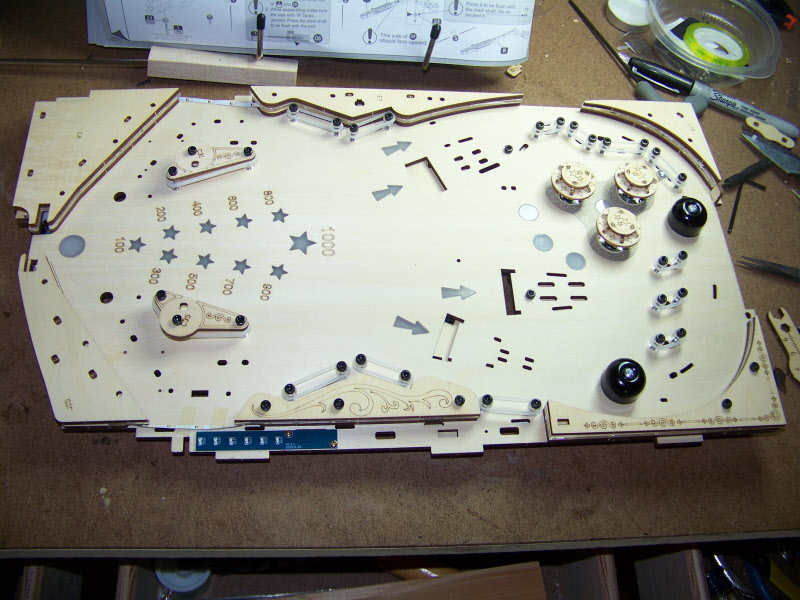
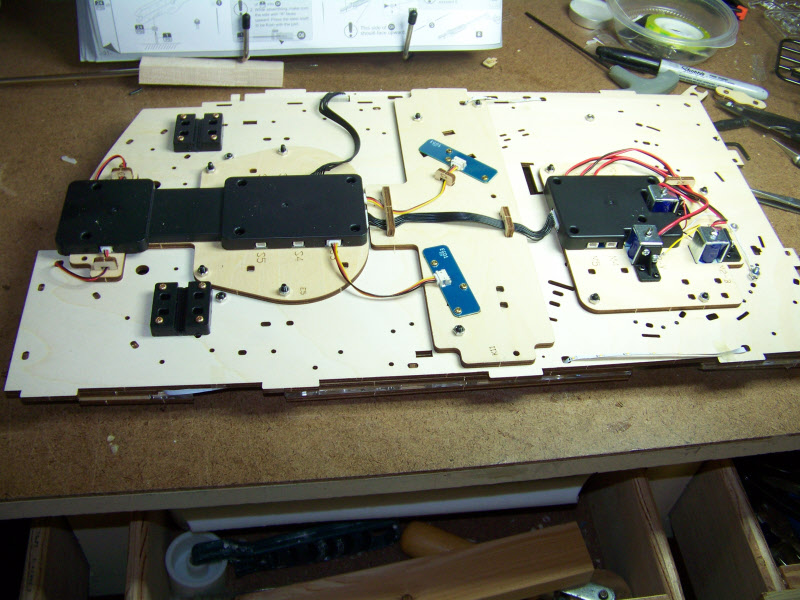
I've been working on the playing field for around 4 hours, giving me close to 17 hours already into this. Here are shots of the top and bottom. There are three solenoids, two bells, a bunch of see-through stars & arrows and lots of rubber bands. The hardest part of this was to feed two LED ribbons though the top of the three sections on the left and right sides. On the bottom is the control modules. I counted 230 parts just on this sub-assembly, and it's not done. Next on it is the flippers, then who knows...
Don (ezdays) Day
Board administrator and
founder of the CANYON STATE RAILROAD
Posts: 6,600
Threads: 1,134
Joined: Nov 2008
Wow!!!! That's involved!!! Looks great though!!!!!
Posts: 2,545
Threads: 52
Joined: Dec 2008
Posts: 12,037
Threads: 579
Joined: Nov 2008
Thanks guys, I just spent an hour fiddling with the flippers. They didn't rest where they should and looked like the worked backwards. I wondered if L & R were reversed since they parts were marked, but referenced to the underside, so "L" operated the right flipper and "R", the left one. After all that screwing around I turned to the next page and found another set of screws that will probably remedy that situation. Too tired to find out so it will have to wait until tomorrow..
Don (ezdays) Day
Board administrator and
founder of the CANYON STATE RAILROAD
Posts: 12,037
Threads: 579
Joined: Nov 2008
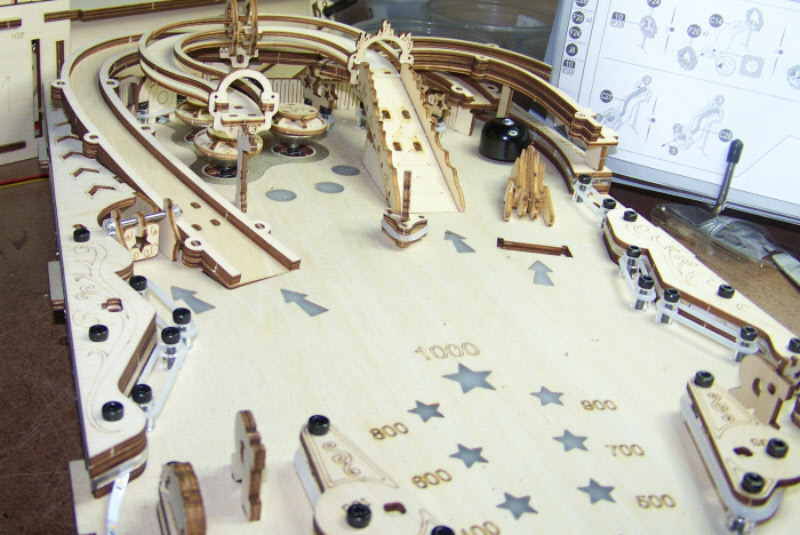
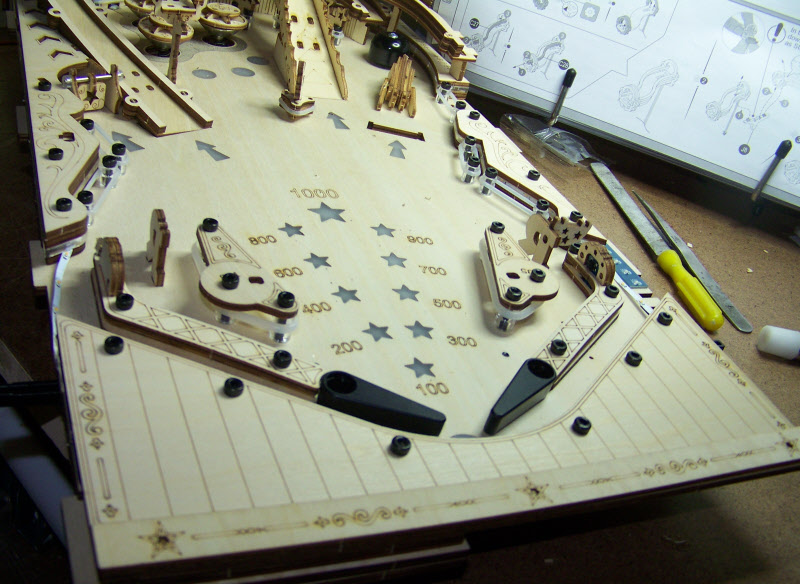
I am still working on the playing field. It's getting crowded, lots of parts that fit well, but can come loose easily. On some of the curved parts, securing one end will make the other end pop off. I'm starting to use a bit of CA to keep all that from happening. There's still a lot of parts to go and I'm just about at the 25 hour mark. The flippers work like they should and I find there are a good number of ball detectors, I guess to help keep score. Lots of rubber bumpers as well
Anyway, here's where I am at this point:

Don (ezdays) Day
Board administrator and
founder of the CANYON STATE RAILROAD
|


